
How to use FLUX.2 [klein] for AI anime-style images
Written by Clement
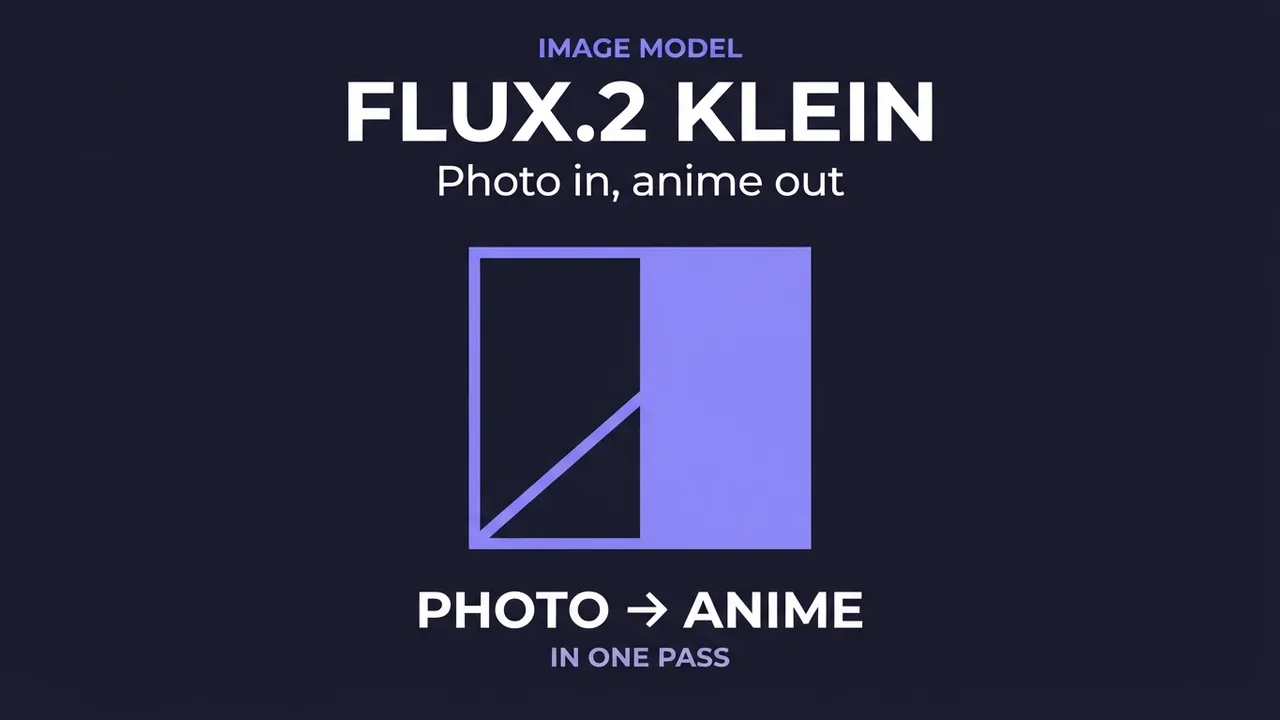
FLUX.2 [klein] is a small, fast model built for one specific job: taking an image you already have and repainting it in an anime or manga art style. It's an image-to-image transform, not a from-nothing generator: the source image supplies the subject, the pose, and the composition, and your prompt supplies the art style.
This guide covers what Klein is good for, how to write a style prompt it responds to, what to do when the transform drifts a detail you wanted kept, and where it fits next to a text-to-image model.
The panel above is an illustration of the workflow, not a live tool.
Want to make one? Grab the free prompt file. It turns ChatGPT, Claude, or Gemini into a specialist for this.
Get the free prompt file →What Klein is for
Klein takes one input image and re-renders it in an anime/manga style. Everything already in the photo (the subject, their pose, the framing, the background layout) carries through the transform. Your prompt's job is to describe the art style you want it repainted in, not to describe the scene again.
That makes Klein fast and lightweight compared to models that compose a scene from a text description alone: it's doing a stylization pass on something that already exists, not deciding what exists in the first place.
Step-by-step
Klein is an image-to-image model, so every request needs a source image alongside the prompt.
- 1
Pick your source image
Any photoreal image works: a photo, or a still from a photoreal generator. Whatever pose, framing, and composition is already in that image is what Klein carries into the anime version.
- 2
Decide on a specific anime sub-style
"Anime style" alone is vague and gives an inconsistent result. Pick a lane (modern anime, 90s cel-shaded, manga line-art) the same way you'd brief an illustrator.
- 3
Describe the line work and shading, not the subject
Name the linework (bold clean outlines, sharp angular highlights) and the shading (flat cel-shaded color blocks, soft gradients). This is where a Klein prompt does its work. Re-describing the person or scene wastes the prompt on something the source image already handles.
- 4
Call out anything that must survive the restyle
If an exact hair color, an outfit, or an expression matters, say so explicitly ("keep the red hair color unchanged"). Otherwise the stylization pass can drift a detail toward whatever that anime style typically renders.
- 5
Keep the prompt short
A Klein prompt is a style instruction, not a scene description. A style name, a line/shading clause, and a palette clause is usually the whole prompt.
Writing a Klein prompt that holds the transform steady
Lead with the style name, concretely: "modern anime style," "90s cel-shaded anime," "manga line-art, black and white." That single clause decides more about the output than anything else you write.
Follow it with one clause on line work and shading, and one on palette or mood: "bold clean ink outlines, soft cel shading with flat color blocks, vibrant saturated palette." Three short clauses is a complete Klein prompt for most restyles.
Resist the pull to describe the subject again. Klein prompts that repeat what's already in the source image ("a woman sitting at a café, wearing a blue dress") spend words the model doesn't need and can pull the transform away from consistent stylization.
Get new prompt files and guides first
One email when a new tested prompt file or model guide goes live. Prompts that survived production, not theory. No spam, unsubscribe anytime.
Common problems and fixes
The result barely looks stylized: the style clause is too vague. Swap a generic "anime style" for a named sub-style and an explicit line/shading description.
A color or detail changed that you wanted kept: add an explicit preservation clause naming that exact detail, and don't assume the model will infer it from the source image.
The pose or composition shifted: the prompt likely re-described the subject or scene, which competes with the source image. Cut it back to a style-only instruction.
The output feels inconsistent across attempts: pin down the sub-style name and the line/shading clause rather than leaving them open-ended. Consistency comes from specificity, not from repeating the request.
Where Klein fits versus other tools
Reach for Klein when you already have a photoreal image and want an anime/manga version of exactly that shot. The pose, framing, and composition carry over, so it's the right tool when those are already right and only the art style needs to change.
If you're starting from nothing and want an anime-style image with a specific pose or scene you haven't shot yet, a text-to-image model is the better starting point: generate the photoreal (or stylized) still first, then hand it to Klein for the restyle pass if you want a distinct anime finish.
Keep reading
How to use Z-Image for AI image generation
A practical guide to Z-Image (z-image-turbo): a fast, lightweight text-to-image model with clean English and Chinese text rendering. Covers the resolutions that work best, how to write a prompt it renders faithfully, and the settings that decide speed versus quality.
How to use Wan 2.7 Image (text-to-image, editing, and image sets)
A practical guide to Wan 2.7 Image: text-to-image up to 4K, prompt-based editing, interactive region edits, multi-image reference, and generating consistent image sets. Settings, prompting, and the mistakes that waste renders.
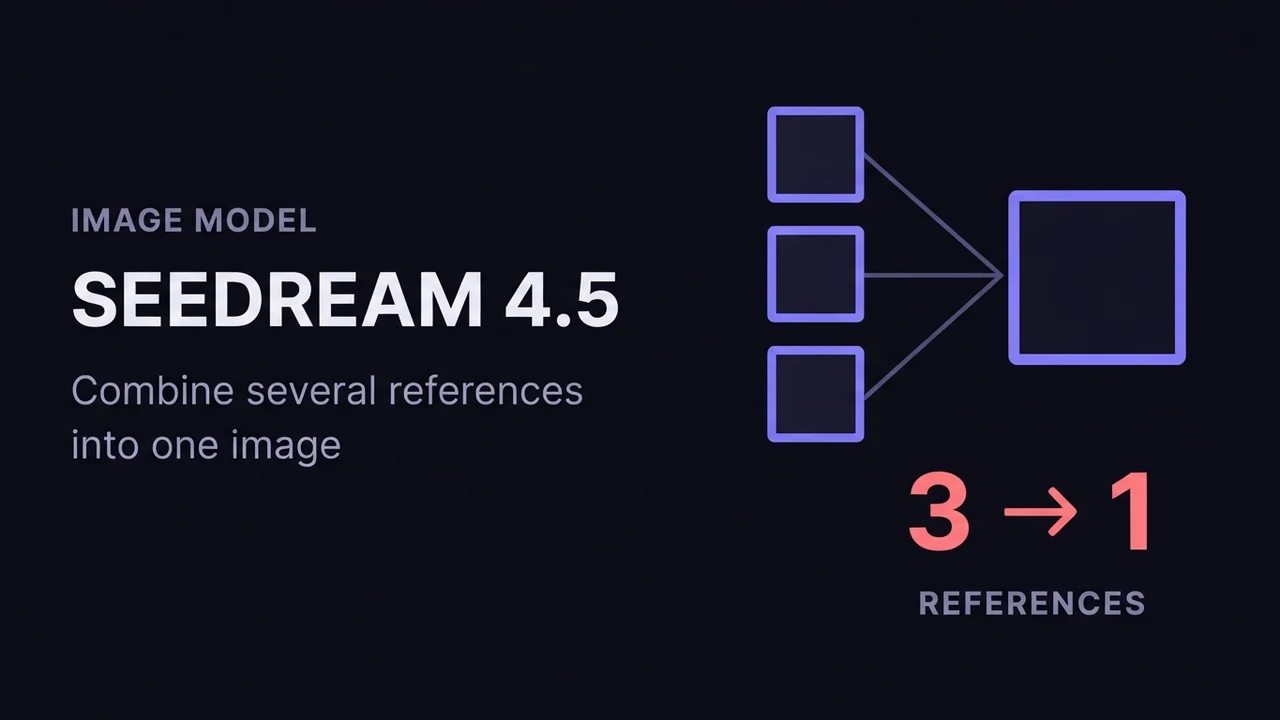
How to use Seedream 4.5 for AI image generation
A practical guide to ByteDance Seedream 4.5: how its text-to-image and image-to-image (multi-image fusion) modes work, how to reference input images in a prompt, the resolution and batch settings that matter, and how to get consistent, high-detail results.
Related models
Get new prompt files and guides first
One email when a new tested prompt file or model guide goes live. Prompts that survived production, not theory. No spam, unsubscribe anytime.