
How to Set Up a Local NSFW Image Model: Full Tutorial
Written by Clement
You want to get the peace of mind to generate your own spicy content without any limits or restrictions. You're on the right tuto. You'll learn how to setup under 20 minutes a complete setup to run a local NSFW model with or without GPU on your machine.
Choose where to run it
Two practical routes: your own machine, best if you already own a GPU with more than 8GB, or a rented cloud GPU. This walkthrough uses rented GPU so anybody can run the setup.

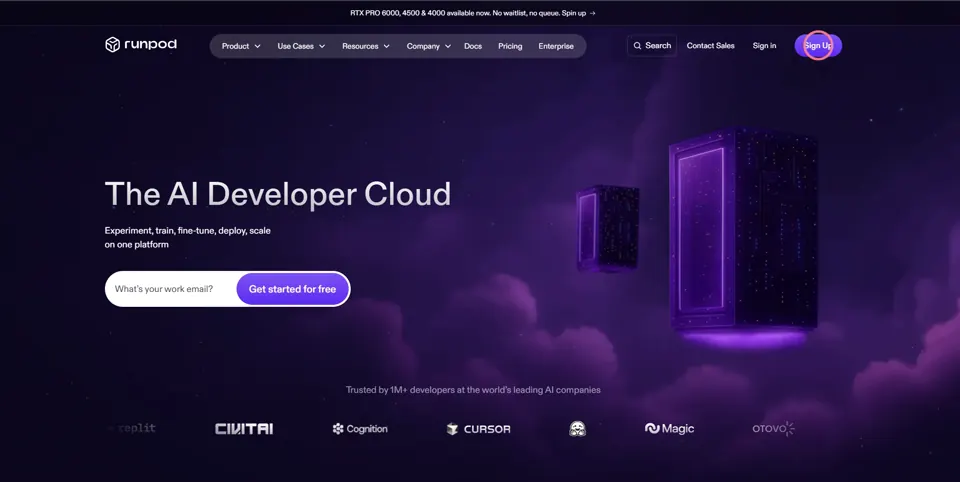
Create a RunPod account
- 1
- 2
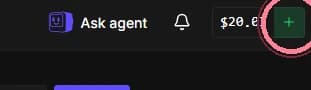
Add $10 to your account
This is the minimum but it will allow you to run your model for 35 hours which can represent more than 100,000 images generated. Which is around $0.0001/image compared to the $0.01 on the cheapest ready to go solutions (not always uncensored btw)
- 3
Pick an instance
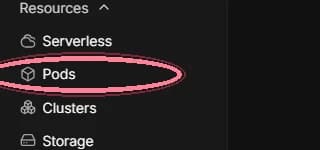
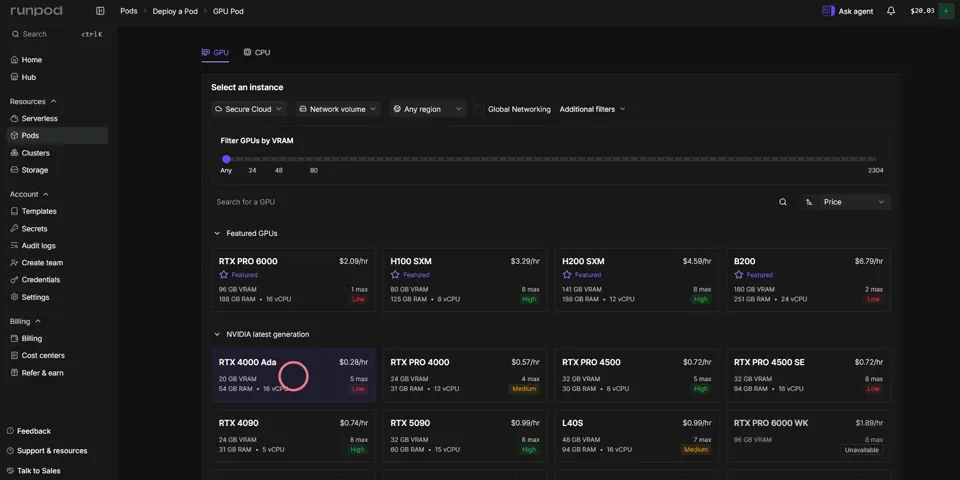
From the dashboard, click Pods in the left nav (or hit Deploy Pod on the Pods card). RunPod lists GPUs by VRAM, RAM, vCPU count, and hourly price; choose one with enough VRAM for the model you're targeting.
Configure and deploy the pod
Image generation doesn't need the biggest card on the list. Pick the cheapest GPU from the newest NVIDIA generation on offer, that's plenty for this workflow, and it keeps the hourly rate low while you're still testing.
- 4
Pick the cheapest current-generation NVIDIA GPU
You don't need a flagship card for image generation; the newest generation's entry-level option is enough, and it costs less per hour than an older, bigger card.
- 5
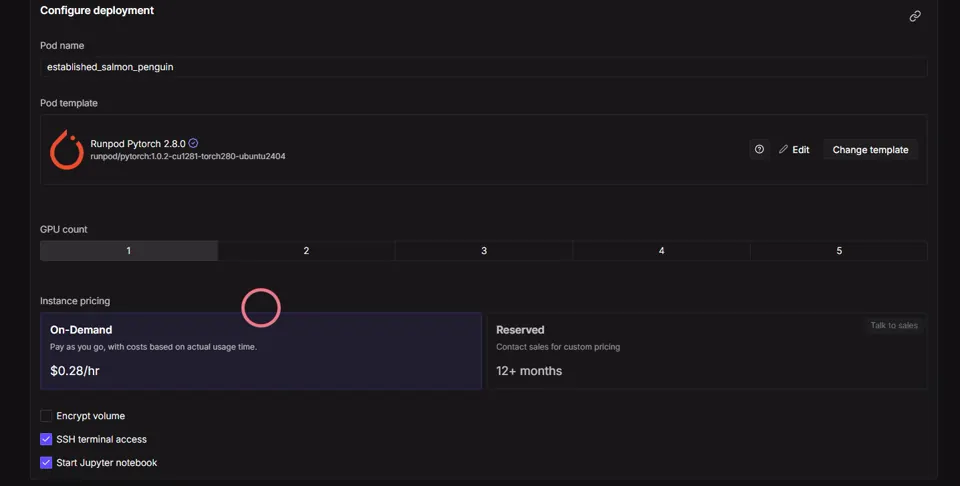
Set the pod template to a PyTorch build
Runpod Pytorch 2.8.0 is the current default template (runpod/pytorch:1.0.2-cu1281-torch280-ubuntu2404); it ships CUDA and PyTorch pre-installed so you're not configuring either by hand. If a different template is selected, hit Change template and pick it from the list.

- 6
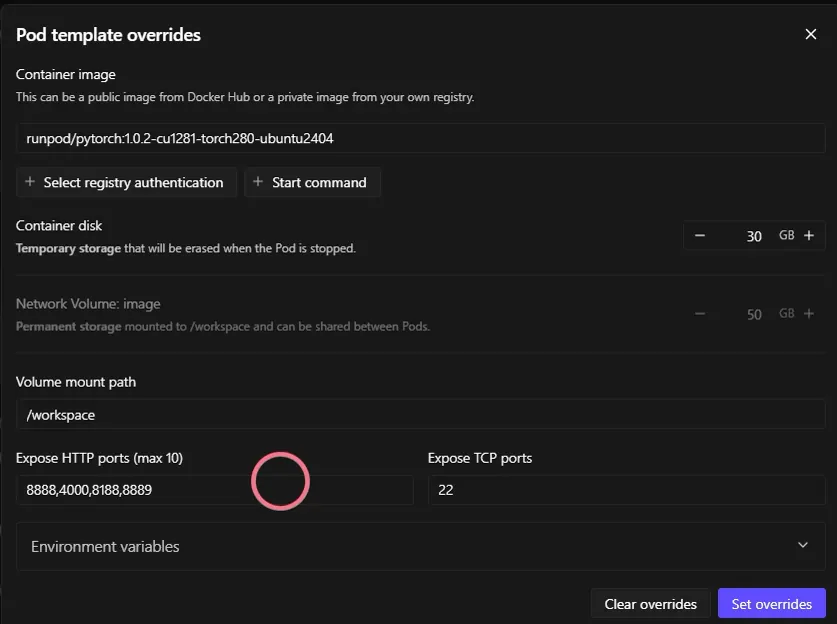
Open the template overrides and expose the ports ComfyUI needs
Under Expose HTTP ports, set 8888,4000,8188,8889. 8188 is ComfyUI's default port; the others cover Jupyter and any auxiliary service the workflow uses. Leave the container disk at its default; it's temporary storage that's wiped when the pod stops.
- 7
Keep the default disk and volume sizes
30GB for the container disk and 50GB for the network volume are the defaults RunPod sets here, and both are enough for this workflow. Leave them as they are unless you already know you need more.
- 8
Deploy On-Demand
On-Demand bills per second of actual usage, no upfront commitment, which is the right choice while you're still setting things up. Reserved pricing only makes sense once you know you'll run this for months straight.
Run the setup script in Jupyter
- 9
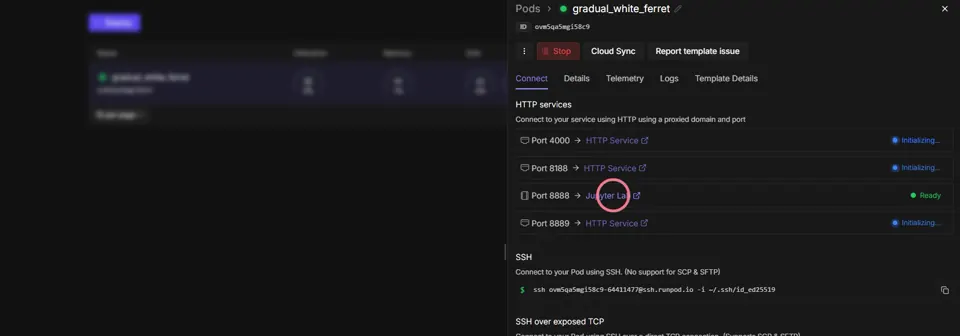
Open Jupyter Lab
On the pod's Connect tab, port 8888 shows "Jupyter Lab, Ready." Click it.
- 10
Download the setup script
Grab setup_krea-2_comfyui.py below and save it locally.
Download the setup script (.py) - 11
Upload the setup script
In Jupyter, upload the file you just downloaded into /workspace.
- 12
Open a terminal
Click the terminal tile in the launcher.
- 13
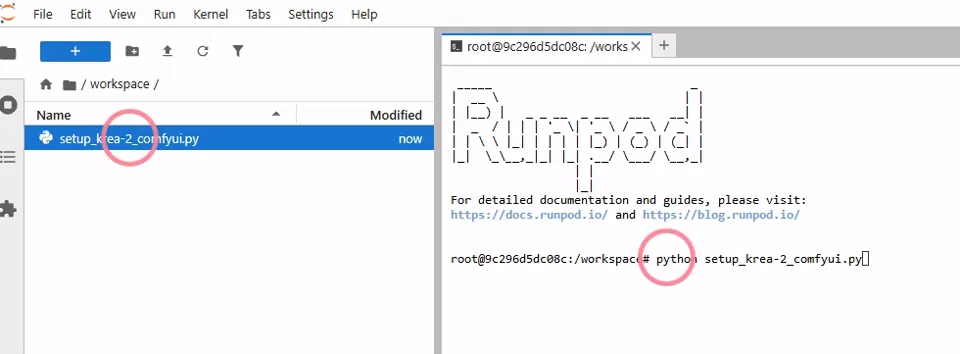
Run the script
python setup_krea-2_comfyui.py. It clones ComfyUI, installs the custom nodes, and downloads every model file the workflow needs.
Get new prompt files and guides first
One email when a new tested prompt file or model guide goes live. Prompts that survived production, not theory. No spam, unsubscribe anytime.
Open ComfyUI's port once setup finishes
- 14
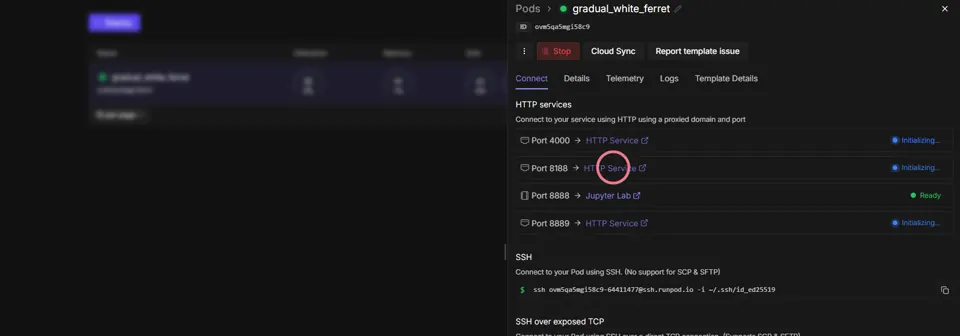
Go back to the pod's Connect tab in RunPod
Same screen you used to open Jupyter.
- 15
Open port 8188
That's ComfyUI's default port, already exposed from the pod-template step above. Click it once the setup script finishes to load the ComfyUI interface itself.
Load the workflow and run your first generation
- 16
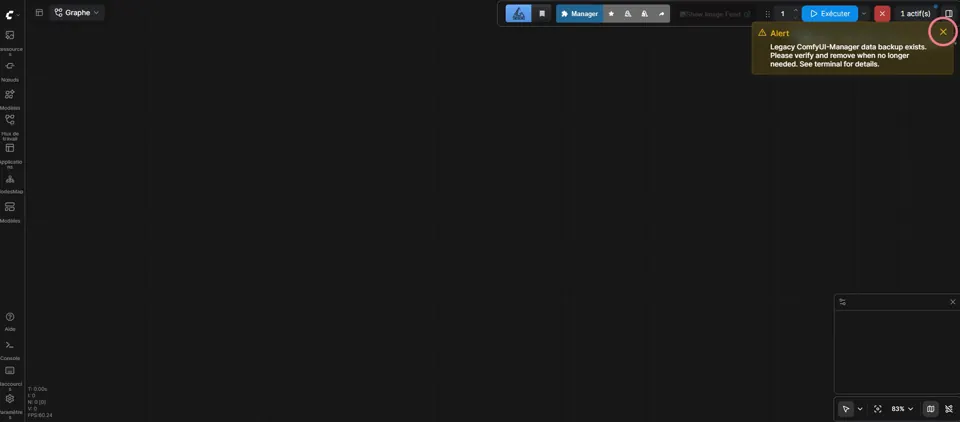
Close the pop-ups
ComfyUI opens with a couple of dialogs on top (a welcome panel, sometimes an alert about legacy Manager data). Close them to get to the empty canvas.
- 17
Download the workflow file
Grab the .json workflow below and save it locally.
Download the workflow file (.json) - 18
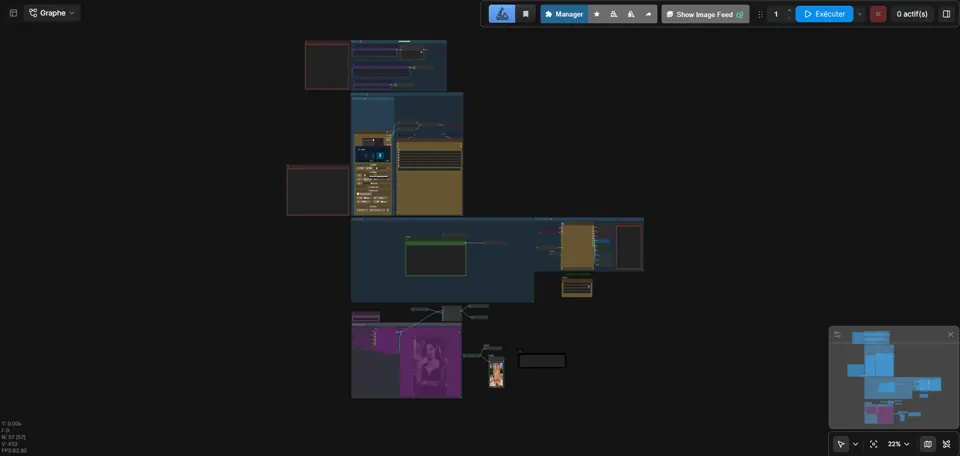
Drag and drop the file onto the canvas
The full node graph appears.
- 19
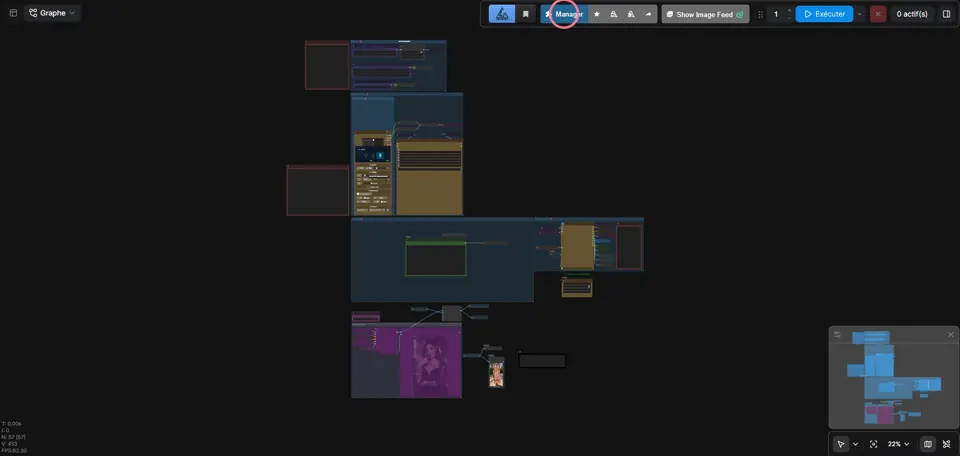
Click the Manager button
In the top toolbar.
- 20
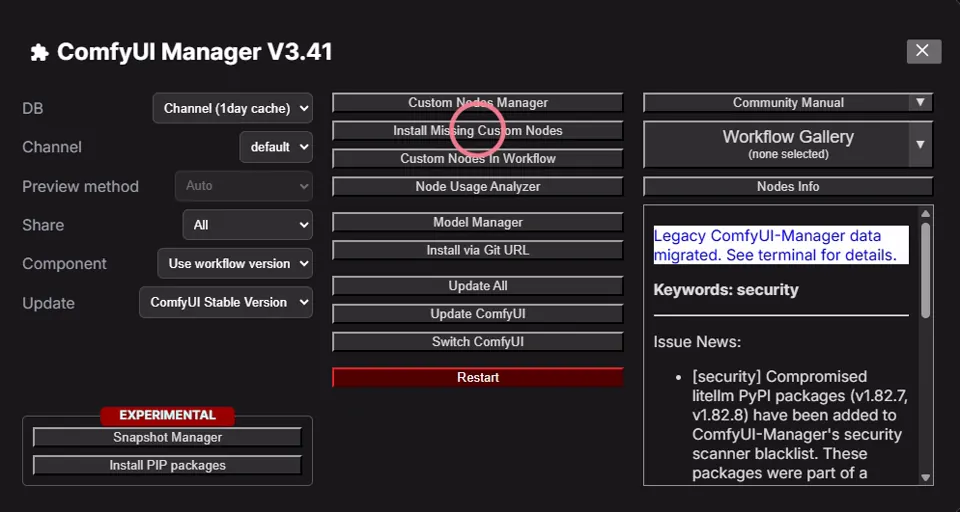
Click "Install Missing Custom Nodes"
The workflow references custom nodes your fresh install doesn't have yet; this lists them.
- 21
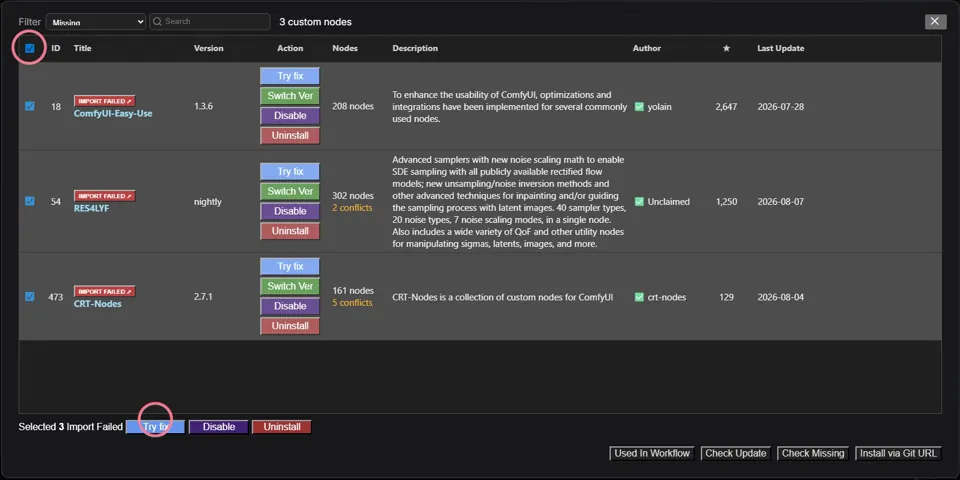
Select all, then install
Click the top-left checkbox to select every listed node, then click the install button. If a node pack is already present but out of date, the button reads "Try fix" instead of "Install", click whichever one is showing.
- 22
Restart ComfyUI
Once every node finishes installing, click the red Restart button and confirm.
- 23
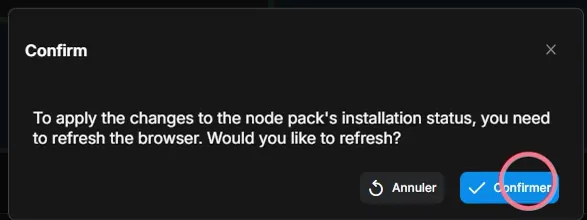
Reload when prompted
A pop-up asks you to refresh the browser once the restart completes. Reload it, and the workflow is ready to run.
- 24
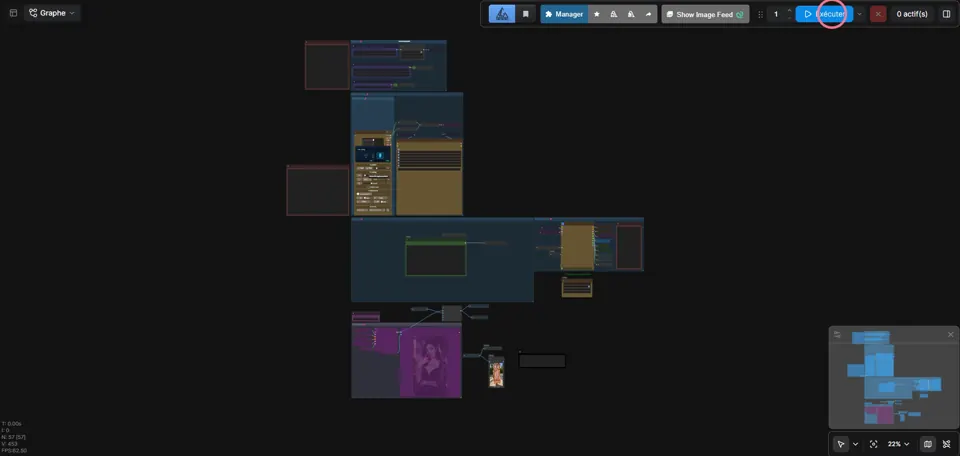
Click Execute
Top right, without changing anything else. Your first generation runs.
Get better prompts for this workflow
This is the point where the prompt does all the work. These free files turn ChatGPT, Claude, or Gemini into a prompt-writing specialist for the model you're running: paste one in, describe your idea, get back a finished prompt.
Krea 2 Prompt Generator
Built for this exact workflow: leads with the hands, skin, and fabric detail Krea 2 renders best.
Z-Image Prompt Generator
For Z-Image Turbo: literal, hierarchical prompts with no negative prompts.
Seedream 4.5 Prompt Generator
Subject, detail, background, lighting, framing, in that order.
See what this pipeline actually produces
Hardware and software checklist
This workflow ran on 16GB of VRAM and up in this tutorial. Going lower hasn't been tried, so treat anything under 16GB as untested rather than unsupported.
- GPU
- A supported NVIDIA GPU locally, or a rented cloud GPU with 16GB VRAM or more
- System RAM
- 30GB for this test but it can be lower too
- Storage
- 28GB are stored on the network volume I'm attaching to run the workflow
Troubleshooting
- Out-of-memory error
- Reduce dimensions or batch size, close other GPU applications, check the model's own memory guidance
- Black or corrupted output
- Verify the VAE, runtime, driver, and model compatibility
- Missing custom node
- Install only from a reviewed source, restart the UI, confirm the node version
- Output ignores the LoRA
- Check model family, loader, trigger term, file location, and weight
- Results aren't reproducible
- Save the full workflow, seed, model hash, node versions, and settings
Frequently asked questions
- Can I run an NSFW image model without a powerful GPU?
- Some models support CPU or lower-memory modes, but speed and output size shrink accordingly. Check a model's current hardware guidance before choosing it. A hosted GPU can be cheaper than buying hardware if you only generate occasionally, but review the provider's data-retention and adult-content policies first.
- Should I train a custom model right away?
- No. Prove the base checkpoint and workflow work first. Add a LoRA only once you can describe the specific visual change you need and you have lawful, consented training data in hand.
- How do I make a generated character look like a real person?
- Use a fictional character, or a consenting adult with explicit permission for this exact use. Never turn a real person's ordinary photos into sexual content without informed consent.
- What's the best model?
- There's no universal answer. Compare candidates using the same seed, prompt class, resolution, and review criteria, and publish results only after running that comparison yourself.
- How much VRAM do I need?
- This workflow ran on 16GB of VRAM and up. Lower hasn't been tested, so treat anything under 16GB as untested rather than unsupported, and check the specific model's own hardware guidance before committing to a smaller card.
- How much does RunPod actually cost for this?
- $10 covers roughly 35 hours on the cheapest current-generation GPU, which is enough for 100,000+ images at this workflow's default size, around $0.0001 per image. That's before storage: the network volume keeps a small charge running on top for as long as it exists, separate from the per-second GPU rate.
- Is it safe to run this on RunPod?
- RunPod states it encrypts data at rest and in transit and runs each pod in its own isolated container, per their own security and compliance documentation. That's RunPod's claim, not something this guide independently audits, so read their privacy policy and adult-content policy yourself before uploading anything sensitive.
- How do I stop paying once I'm done generating?
- Stop the pod first, then terminate it. Stopping alone ends the per-second GPU charge, but the network volume keeps billing for storage until the pod is fully terminated, not just stopped.
- Is generating NSFW AI images legal?
- It depends entirely on what you generate. Fictional adult characters are the safe lane. Real people require documented, informed consent, and minors, non-consensual intimate imagery, or coercion are never legal regardless of how the image was made. This isn't legal advice; when in doubt, don't generate it.
Keep reading
What is a LoRA and when do you need one
A plain-language explanation of LoRAs for AI image generation: what they add to a base model, why they only work on open-weight models, and what weight to load one at.
How to turn an image into a video with AI
A model-agnostic guide to generating an AI video from an image: what image-to-video does, how to pick a source image that moves well, and how and what to prompt to get good motion.
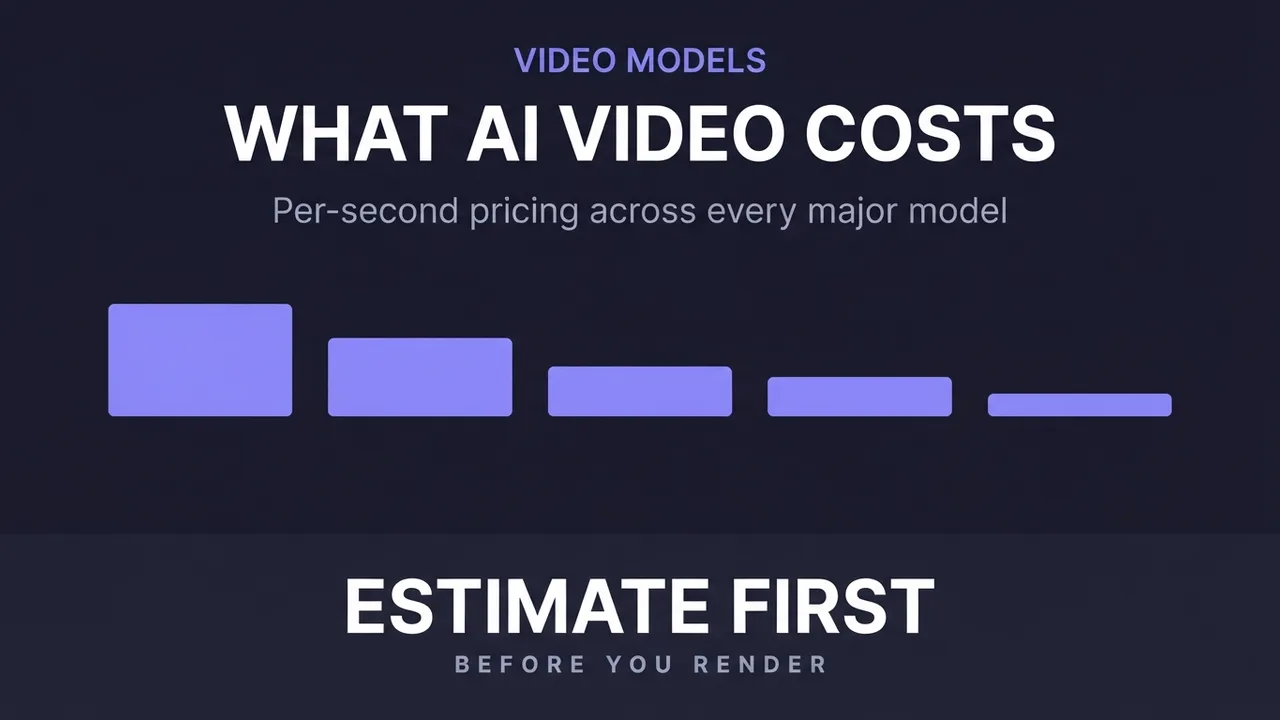
How much does AI video generation cost?
A clear breakdown of what AI video costs: per-second pricing, why resolution and audio change the bill, how to estimate a clip before you generate it, the free local alternative, and where the hidden costs like upscaling hide.
Get new prompt files and guides first
One email when a new tested prompt file or model guide goes live. Prompts that survived production, not theory. No spam, unsubscribe anytime.