
How to build character and scene reference sheets for consistent AI video
Written by Clement
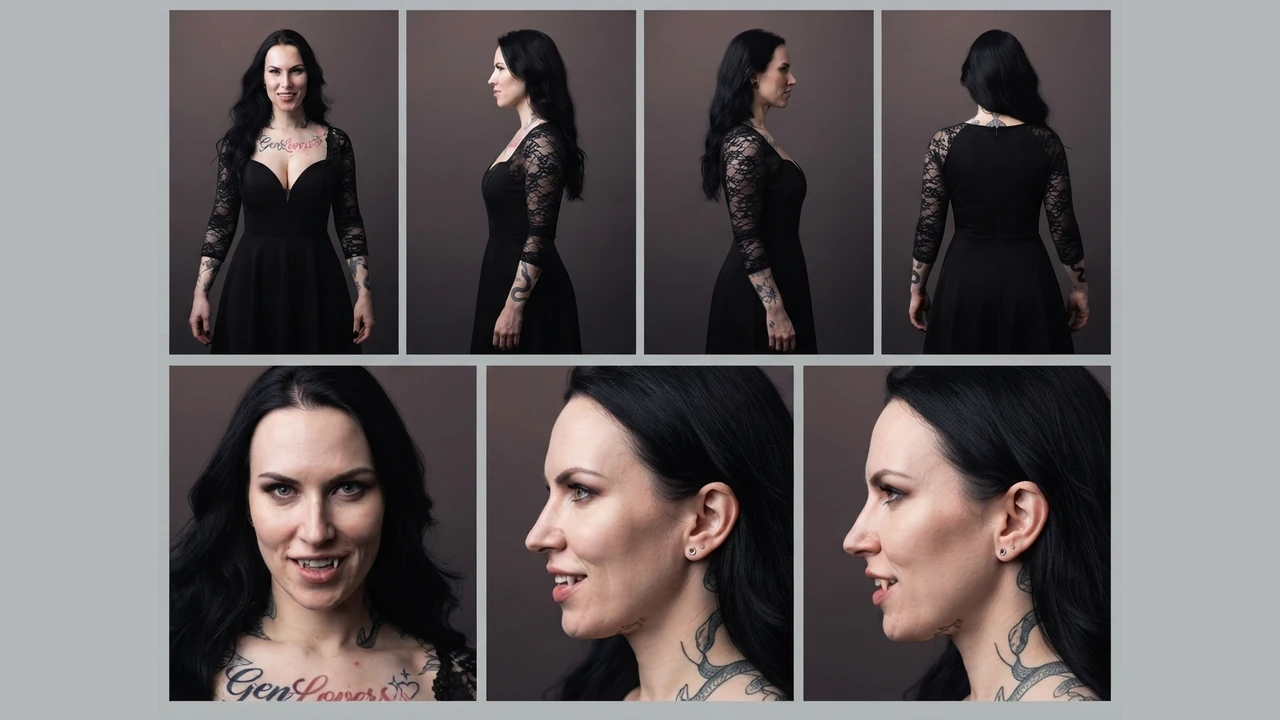
A single reference photo breaks down the moment a character turns their head or the camera moves past a three-quarter angle: most image and video models only ever saw that one angle, so anything else gets guessed. A character reference sheet fixes this by generating every angle at once, front, both profiles, and the back, in one image, and feeding that whole sheet back in as the reference for every later generation instead of the original photo.
This turns a single reference image into a persistent "ingredient" your generator can pull from for identity, clothing, and proportions, if you're generating a new scene image or animating that scene into video.
Why a single photo isn't enough
Most image-to-video and reference-based tools only have the angle your source photo shows. Ask the character to turn around, walk toward the camera, or appear in profile, and the model has to invent what it never saw, which is where identity drifts: a different jaw, a different build, a face that's close but not the same person.
A reference sheet solves this by generating all the missing angles up front, in a single controlled image, so nothing later has to be guessed from one photo.
Step 1: Generate the character reference sheet
You need a generator that supports image references or "ingredients" (Nano Banana Pro, Veo, and Kling all work).
- 1
Open Create Image and set the aspect ratio
Use a 16:9 aspect ratio. It lays out a side-by-side turnaround sheet best.
- 2
Set outputs to 2 or more
Generate more than one so you have a choice of the best result before you commit to it as your reference.
- 3
Upload one clear reference photo
Click the image/ingredient icon and upload a single clear photo of your subject. Skip this step entirely if you're building a character from text alone.
- 4
Paste the turnaround prompt and generate
Use the technical reference-sheet prompt below as-is. It's written to produce a specific two-row layout, not a general "character sheet" request.
Pick the result where the character is well-proportioned, fills the frame properly, and shows accurate, consistent angles and detail across all seven panels. A sheet with a warped back view or a portrait that drifts from the full-body rows above it will carry that flaw into everything generated from it, so it's worth regenerating rather than settling.
Step 2: Generate consistent scene images
With a reference sheet chosen, use it as the identity source for any new scene.
- 5
Add the reference sheet as an image ingredient
Click "Add to Prompt" on the reference sheet so the generator treats it as an ingredient rather than a plain upload.
- 6
Describe the scene, not the character
Write only the setting, action, or outfit change, for example: "the mechanic is in the airlock of a space-mining ship inspecting damaged equipment." The model pulls face, build, and default clothing from the sheet, so re-describing the character fights the reference instead of reinforcing it.
- 7
Generate and check identity against the sheet
Compare the result's face and proportions against the reference sheet's portraits before moving on. This scene image becomes the start frame for animation in step 3.
Step 3: Animate with ingredients-to-video
Standard image-to-video only has the one angle in your start frame. Ingredients-to-video keeps the full turnaround sheet active during animation, so identity holds even through a full turn or a push into close-up.
- 8
Switch to ingredients-to-video mode
Move off text-to-video or standard image-to-video into whatever your generator calls its multi-ingredient video mode.
- 9
Add two ingredients
Ingredient 1: the scene image from step 2. Ingredient 2: the character reference sheet from step 1. The sheet is what lets the model render angles the scene image alone doesn't show.
- 10
Write action, camera, and dialogue together
For example: "the mechanic stands and spins completely around as if looking for more damage, the camera dollies into a closeup as he turns ending with a closeup of his face as he says 'This is sabotage.' No captions, no music, no soundscape, only ambient sounds."
- 11
Generate
Because the turnaround sheet stays active as an ingredient, a full 360-degree turn or a push into close-up keeps the same face and proportions instead of drifting the moment the camera leaves the start frame's angle.
Get new guides by email
One email when we publish new guides and model breakdowns. No spam, unsubscribe anytime.
The same technique for a location: a scene reference sheet
The exact same problem happens to a room or a location the moment a scene revisits it: describe the same bedroom in scene 2 and again in scene 5, and the layout, the lighting, and the framing all drift a little each time, because the model is regenerating the room from scratch from your description rather than referencing something fixed.
Build a scene reference sheet the same way as a character sheet, and reuse it as an ingredient for every generation set in that location. Generate the location from multiple angles in one image (a wide establishing view, a couple of angles from where the camera would sit during a scene, and a close detail shot of anything the story returns to, a specific piece of furniture or a window), then feed that sheet back in as an ingredient any time a scene is set there, the same way the character sheet gets added as an ingredient in step 2 above.
Generate a scene reference sheet
Same workflow as the character sheet: one generator call, one reusable image, one prompt below.
- 12
Open Create Image and set the aspect ratio
16:9, same as the character sheet, so a multi-angle layout has room to lay out cleanly.
- 13
Upload a reference photo of the location, if you have one
Optional. Skip this and describe the location in the prompt instead if you're building it from scratch rather than referencing a real place.
- 14
Paste the scene turnaround prompt and generate
Use the prompt below as-is, filling in the location's description where marked.
Where this fits with reference-to-video and LoRAs
A reference sheet is a single-image trick: no training, no fine-tuning, works on any model that accepts image references or ingredients. If you need the same character across dozens of sessions or want it baked into the model itself rather than supplied each time, that's what a LoRA is for.
The two techniques also combine with plain reference-to-video workflows: use a character sheet and a scene sheet together as separate ingredients, one for who's in the shot and one for where it's set, and add any prop reference the story still needs beyond that.
Frequently asked questions
- What generators can create a character reference sheet?
- Any generator that accepts an uploaded reference image and can follow a detailed layout prompt. Nano Banana Pro, Veo, and Kling all support this workflow.
- Do I need a source photo to build a reference sheet?
- No. You can omit the upload step and build a character from a text description alone, though starting from a real photo generally holds identity more reliably.
- Why two rows instead of just full-body views?
- The close-up portrait row gives the model (and you) a second, larger-scale check on facial identity. A sheet that only shows full-body views often looks consistent at a distance but drifts once a scene needs a close-up.
- Does the reference sheet replace image-to-video ingredients, or add to them?
- It adds to them. Use the reference sheet as one ingredient alongside your scene image (and a scene reference sheet, if the location needs to stay consistent too) rather than in place of them.
- Can I use this same technique for a location instead of a character?
- Yes. Build a scene reference sheet the same way: multiple angles of the location generated in one image, then reused as an ingredient any time a scene returns to that place. It solves the same drift problem for a room or setting that the character sheet solves for a person.
Keep reading
How to write a script for an AI-generated video
A script format built for AI video generation, not film: every scene planned with its start frame, end frame, duration, dialogue, camera move, and sound, so each clip can be generated on its own and still cut together as one continuous video.
How to use reference-to-video AI (combine images into one clip)
A model-agnostic guide to reference-to-video AI: how to combine several reference images (a person, an outfit, a prop, a location) into one coherent clip, how some engines also take audio and video as references, and the mistakes that decide whether the shot fuses or falls apart.
How to turn an image into a video with AI
A model-agnostic guide to generating an AI video from an image: what image-to-video does, how to pick a source image that moves well, and how and what to prompt to get good motion.
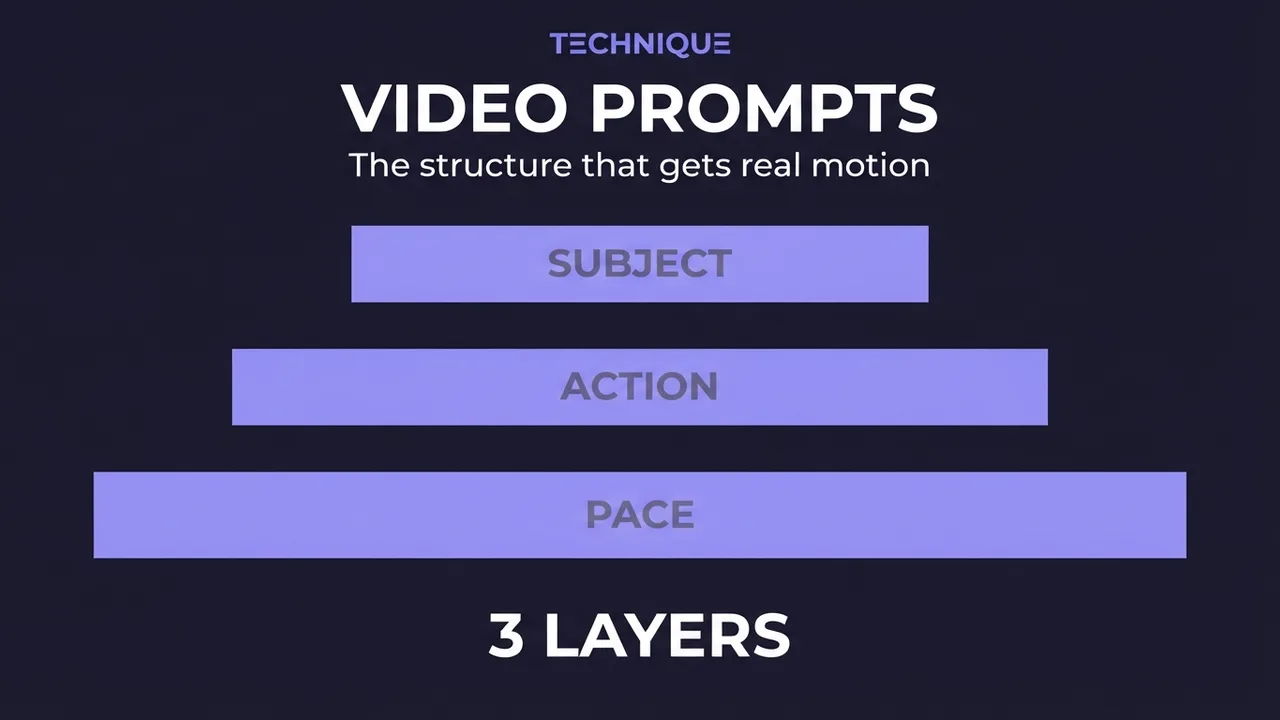
How to write prompts for AI video generation
The prompt structure that works for AI video: why motion prompts are different from image prompts, the present-progressive rule, and the specific phrasing that gets you believable movement instead of a warped photo.
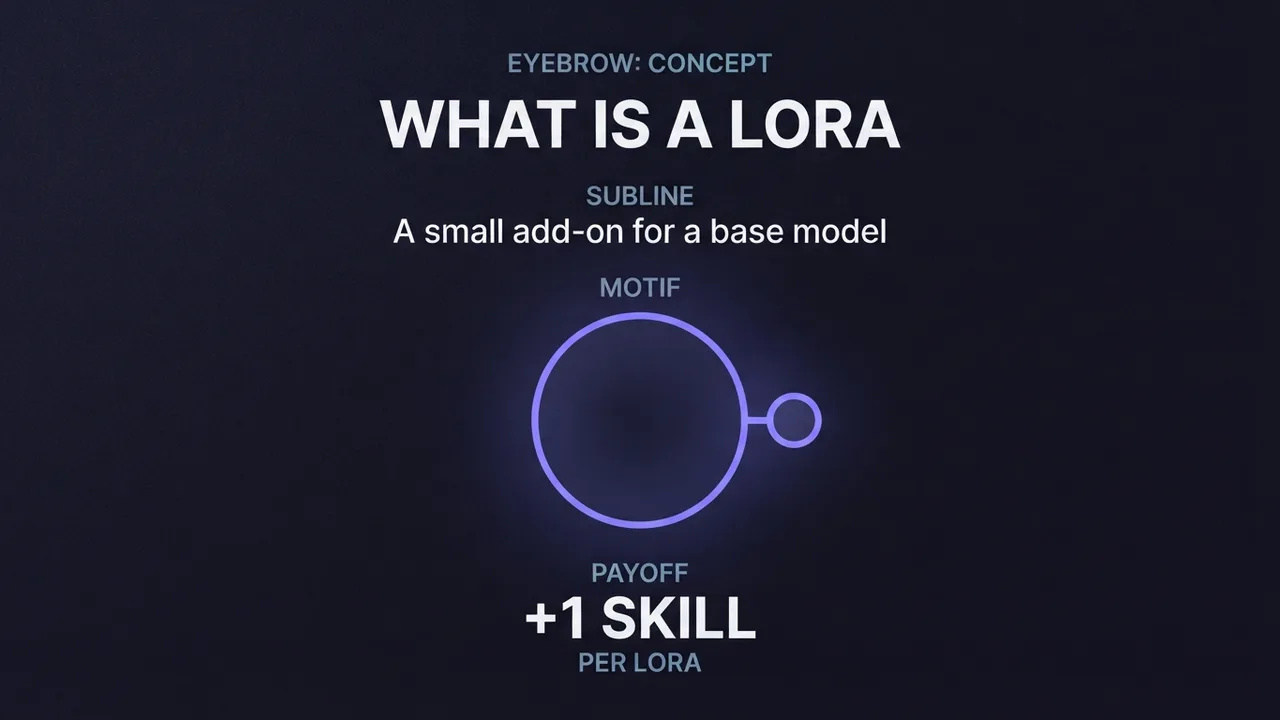
What is a LoRA and when do you need one
A plain-language explanation of LoRAs for AI image generation: what they add to a base model, why they only work on open-weight models, and what weight to load one at.
Get new guides by email
One email when we publish new guides and model breakdowns. No spam, unsubscribe anytime.