
How to write a script for an AI-generated video
Written by Clement
A film script assumes a director and a crew will fill in the gaps: where the camera sits, how long a look lasts, what the room sounds like. An AI generator fills in none of that. Every clip is generated on its own, a few seconds at a time, from whatever the prompt and the reference images specify, so a script written for AI video has to plan the things a film script leaves to instinct: the exact first frame, the exact last frame, the duration, and everything that has to stay identical from one generated clip to the next.
This guide is a planning format, not a prompt-writing guide. Once each scene is broken down this way, [video prompts](guide:video-prompts) covers how to phrase the motion inside one clip, and [character reference sheets](guide:character-reference-sheet) and [Voice Changer](guide:elevenlabs-voice-changer) cover how to keep a character's face and voice identical across every scene you plan here.
Why an AI video script needs more than a film script
On a film set, continuity is enforced by physical reality: the same actor, the same set, and the same lighting rig are still there for the next take. An AI generator has none of that by default: every clip is a new generation, and anything you didn't lock down, a character's outfit, the room's layout, the direction light was coming from, is free to drift the moment a new clip starts.
That means the planning has to happen before you write a single prompt: which character is on screen, what they look like right now, where they are, what happens, how long it takes, and exactly what the frame looks like at the start and the end. A film script can say "she walks across the room" and trust the crew. An AI video script has to say what that looks like at second 0 and at second 4, because those two frames are what get generated and chained together.
Step 1: Lock every character and location before writing a single scene
Do this once, up front, and every scene below just references it. Skipping this step is the single biggest cause of a video where the character looks like someone different in every clip.
- 1
Build a reference sheet for every named character
Follow the character reference sheet process for each person who appears in more than one scene. Note which sheet is "Character A", "Character B", and so on, and reuse those labels everywhere below.
- 2
Decide each character's voice
Pick or generate the target voice you'll run their dialogue through, per the Voice Changer guide, before you write a line of dialogue. If two characters talk, they need two distinct target voices decided now, not per scene.
- 3
Write a one-line location bible
For every distinct location, note it once: "the airlock, gray metal, one flickering overhead light, a control panel on the left wall." Every scene set there reuses this line verbatim rather than re-describing the room from scratch.
- 4
Decide the outfit or state for each character, per scene
If a character changes clothes, gets injured, or otherwise changes appearance partway through the video, note exactly which scene that change happens in. Nothing about their appearance changes on its own between scenes; it changes only where you write that it does.
Step 2: Break the video into scenes, not shots
A scene is one continuous action in one location: a conversation, a walk down a corridor, a reaction. Each scene will itself be broken into one or more generated clips (a clip is capped at a few seconds on most models, see longer videos for chaining them), but plan at the scene level first so the story holds together before you worry about clip boundaries.
Number your scenes. Everything in the rest of this guide, timestamps, frames, dialogue, hangs off that scene number, so a scene can be reordered, cut, or handed to someone else to generate without losing track of where it fits.
Step 3: For every scene, fill in every column
This is the part a film script doesn't have. For each scene, write down all of the following, even the parts that feel obvious, because the generator has no instinct to fall back on for anything you leave blank.
The AI video scene sheet
One row of this table per scene. Nothing here is optional if the scene has more than one shot or hands off to another scene.
| Scene number and duration | e.g. "Scene 4, 0:00-0:06". Running timestamps across the whole video, not just this scene's own length, so you always know the total runtime as you go. |
|---|---|
| Characters present | By the labels you fixed in step 1 ("Character A"), not a new description. If a character reference sheet exists, name it here. |
| Location | The one-line location bible from step 1, reused verbatim, plus anything scene-specific (time of day, who else is in frame). |
| Start frame | What the first frame of the scene looks like: character positions, pose, expression, camera angle. This is the image you'll either generate directly or that the previous scene's last frame needs to match. |
| End frame | What the last frame looks like. This becomes the start frame of the next scene if the video needs to look continuous, so describe it with the same precision as the start frame, not as an afterthought. |
| Action / blocking | What physically happens and in what order: who moves where, what they pick up, when they turn. Written as a sequence, not a mood. |
| Dialogue | The exact line(s), who says them, and roughly when in the scene's duration they land. Keep a line short enough to fit the scene's seconds, matching the pacing guidance in [video prompts](guide:video-prompts). |
| Camera | One named move per shot (static, slow push-in, pan), matching the do's and don'ts in [video prompts](guide:video-prompts). Silence here means the camera holds still. |
| Sound and music | Ambient sound tied to what's visible (footsteps, wind, a door), and separately, whether music plays under the scene, and if so what it's doing (building, dropping out for the dialogue, absent). |
| Continuity notes | Anything that must carry over from the previous scene or into the next one: an object someone is still holding, an injury, a change of outfit that already happened. |
Get new guides by email
One email when we publish new guides and model breakdowns. No spam, unsubscribe anytime.
Timing: budget seconds like a resource, not an afterthought
Decide the runtime of each scene before you write the action for it, not after. A model that caps out around five seconds per clip cannot show a character cross a room, sit down, and deliver three lines. Match the ambition of the action to the seconds you've budgeted for it.
Write the running timestamp at the start of every scene (0:00-0:06, 0:06-0:11, and so on) rather than just each scene's own length. That running total is what tells you, while you're still planning and before anything is generated, whether the video is heading toward 30 seconds or 3 minutes, and whether that matches what you meant to make.
Multiple characters, dialogue, and who's talking when
When two characters share a scene, write dialogue as a simple back-and-forth with the speaker labeled on every line, the same way a film script does, but add which reference sheet and which target voice each speaker uses. That pairing (character label to reference sheet to voice) is what keeps two characters from blending into each other across a multi-scene conversation.
If a line needs to land on a specific beat, cross-check it against the scene's duration and camera move. A line of dialogue that needs six seconds to read naturally doesn't fit into a three-second push-in shot; shorten the line or lengthen the shot, don't leave the mismatch for the generation step to somehow resolve.
What to do with the finished script
Once every scene row is filled in, each one is ready to generate on its own: the start frame becomes an image generation (using the relevant character reference sheet), the action and camera columns become the video prompt for animating it, and the dialogue gets recorded and run through Voice Changer with that character's fixed target voice before or after the clip is generated.
Generate scenes in order when the story is continuous, since each end frame usually needs to match the next scene's start frame. Generate them out of order when they're independent (cutaways, parallel action), but keep the scene sheet as the single source of truth either way, so nothing about a character's appearance, a location's layout, or a voice gets reinvented halfway through the project.
Frequently asked questions
- How is an AI video script different from a normal screenplay?
- A normal screenplay trusts a director and crew to fill in camera placement, timing, and continuity. An AI video script has to specify all of that directly, per scene, because nothing is generated with memory of what came before unless you write it down: the exact start frame, end frame, duration, camera move, and what has to stay identical to the previous scene.
- Why do I need to describe both a start frame and an end frame for each scene?
- Because those two frames are usually the literal images the generation is built from: the start frame is what you generate or match to the previous scene's ending, and the end frame becomes the start frame for whatever scene comes next if the video needs to look continuous.
- How long should each scene be?
- Match it to what a single clip or a short chained sequence can hold, generally a few seconds per clip on most models (see longer videos for chaining several together). Decide the scene's duration before writing its action, then scale the action to fit, rather than writing the action first and hoping it fits.
- Do I need a character reference sheet for every character in the script?
- For any character who appears in more than one scene, yes. A character who appears once doesn't need one, but the moment they return in a later scene, a reference sheet is what keeps their face and outfit from drifting between the two appearances.
Keep reading
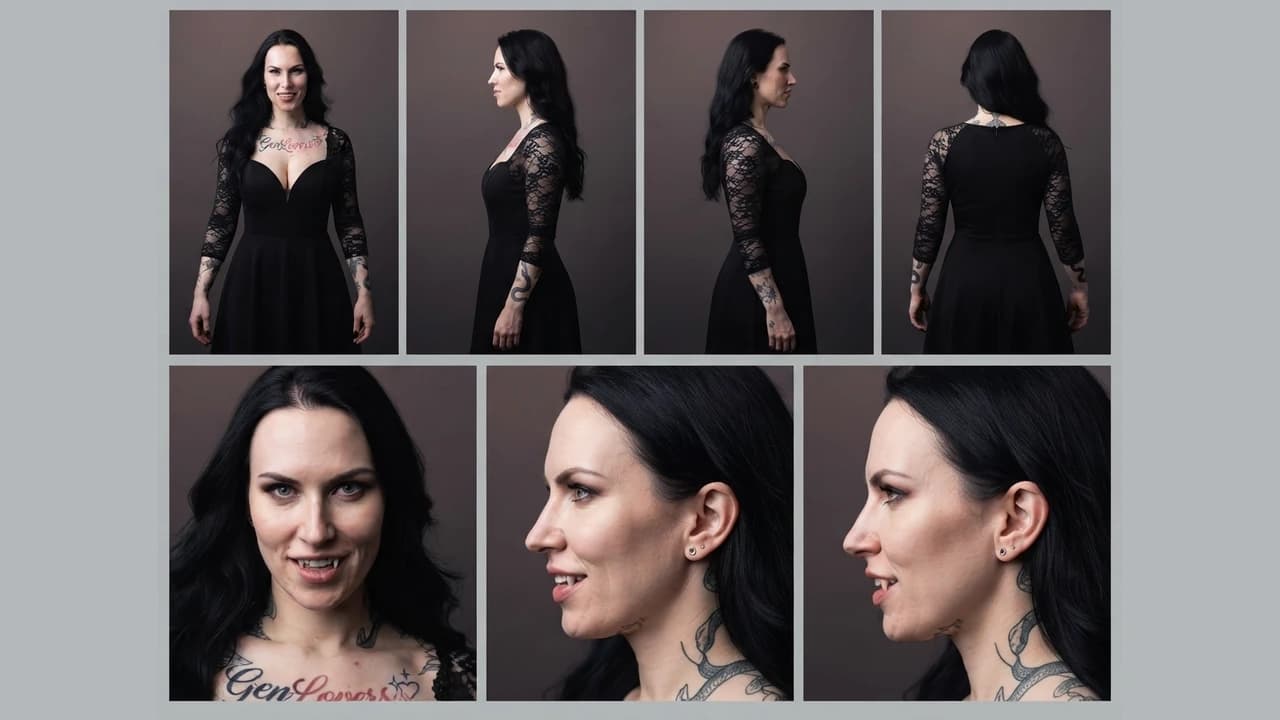
How to build character and scene reference sheets for consistent AI video
How to generate technical turnaround sheets for a character and for a location, then use both as persistent references across image and video generation, so the same character and the same setting hold from shot to shot.
How to use ElevenLabs Voice Changer to keep one voice across a whole video
How to use ElevenLabs' Voice Changer (speech-to-speech) to replace your recorded voice with one consistent voice across a long video assembled from several separate AI generations.
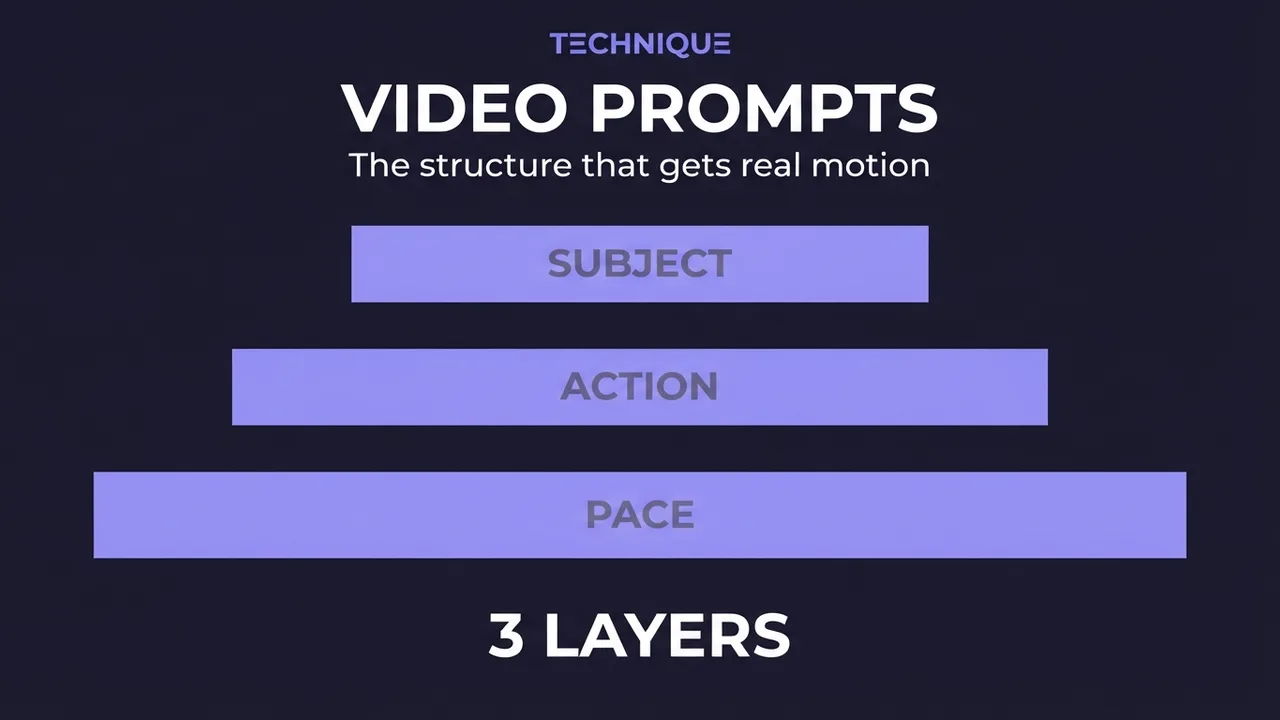
How to write prompts for AI video generation
The prompt structure that works for AI video: why motion prompts are different from image prompts, the present-progressive rule, and the specific phrasing that gets you believable movement instead of a warped photo.
How to make longer AI videos: 4 methods that work
AI video models cap out at a few seconds. Here are the 4 methods that extend them: chaining clips, last-frame continuation, and keeping motion consistent across every join. Step by step, free.
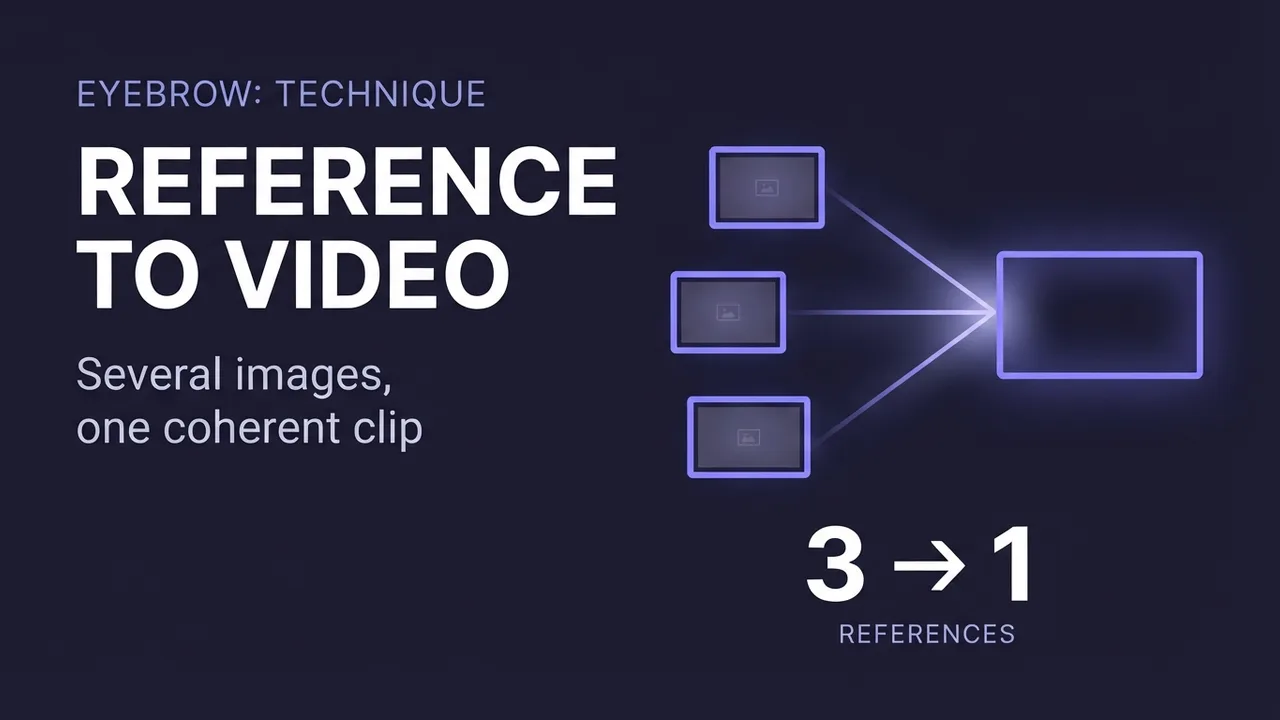
How to use reference-to-video AI (combine images into one clip)
A model-agnostic guide to reference-to-video AI: how to combine several reference images (a person, an outfit, a prop, a location) into one coherent clip, how some engines also take audio and video as references, and the mistakes that decide whether the shot fuses or falls apart.
Get new guides by email
One email when we publish new guides and model breakdowns. No spam, unsubscribe anytime.