
How to make longer AI videos: 4 methods that work
Written by Clement
Almost everyone hits the same wall with AI video: you get a great five-second clip, and then you want fifteen. But when you push the length setting up, the result drifts, warps, or falls apart. The clip length limit isn't an arbitrary restriction you can dial past. It comes from how these models work, and beating it means working with that limit rather than against it.
This guide covers why the limit exists and the practical techniques for getting longer, coherent video anyway. None of them require a special model; they are workflow methods that work with the tools you already have.
Why models cap out at a few seconds
Video models generate a fixed window of frames and have to keep every frame consistent with the ones around it. The longer that window, the more chances for small errors to accumulate: a face slowly shifts, motion loses its thread, detail degrades. The reliable sweet spot for most current models sits around five seconds because that's where consistency stays high.
Pushing the length parameter past that point doesn't give you a clean longer clip; it gives you the same drift you'd get by luck, just guaranteed. So the winning move isn't a longer single generation. It's stitching several strong short ones together.
How to chain clips into a longer video
This is the most reliable path to length. Each segment stays short; the sequence gets long.
- 1
Plan the sequence as segments
Decide the motion beat by beat, one short clip per beat. "She turns to the window" / "she looks out" / "she walks away." Planning the beats first keeps the whole thing coherent instead of a random walk.
- 2
Generate the first clip normally
Make a clean five-second clip for the first beat, exactly as you would any single I2V render. Get this one right before moving on. Every later segment inherits from it.
- 3
Extract the last frame
Take the final frame of the finished clip and export it as an image. This frame becomes the source for the next segment, which is what makes the join seamless: the next clip literally starts where the last one ended.
- 4
Use that frame as the next source image
Feed the extracted frame back in as the source image for the second beat, with a new motion prompt for what happens next. Repeat: generate, extract last frame, feed forward.
- 5
Join the clips and check the seams
Concatenate the segments in a video editor. Because each starts on the previous one's final frame, the cuts should be invisible. If a seam pops, the culprit is usually a lighting or framing mismatch in the source frame. Fix it and re-render just that segment.
Keeping chained clips consistent
Length is easy; consistency across the joins is the real skill. These keep a chain coherent.
- Segment length
- Keep every segment in the model's reliable zone (~5s); the chain provides the length, not the individual clip
- Lighting continuity
- Motion prompts that don't change the light (avoid "the sun sets" mid-chain unless you want a visible shift at the join)
- Framing at the handoff
- End each clip with the subject well-placed in frame, since that final frame becomes the next clip's starting point
- Consistent style
- Same model, same resolution, same guidance across all segments. Switching mid-chain shows up as a jump
- Seed strategy
- Vary the seed per segment for natural variety, but keep everything else fixed so only the motion changes
Get new guides by email
One email when we publish new guides and model breakdowns. No spam, unsubscribe anytime.
Keyframe continuation, and why it is not chaining
Chaining has one structural weakness: every segment restarts from a finished frame, so whatever is slightly wrong in that frame becomes the foundation of everything after it. Newer ComfyUI workflows attack that directly. Instead of handing the next segment a finished picture, they give it a first and last keyframe to travel between, so the model plans the motion across the whole span rather than discovering it one clip at a time. You will see this written as FFLF, for first-frame-last-frame.
The difference is in the effort required. Chaining can be automated by extracting the last frame of the generated video. Keyframe continuation asks you to decide up front where the motion should arrive, which means planning your story better before generating. People using it for multi-minute sequences report joins that read as one continuous take, and the most-shared example this summer drew the reaction that it felt like a real episode rather than a stitched clip.
A related question comes up constantly alongside it: whether you can combine latents instead of frames, staying in the model's own representation and never decoding to a picture in between. In principle that is the cleanest version of the idea, since a decoded frame throws away information the model was using. In practice it needs a workflow built for it, and it is the part of this area changing fastest.
This is also the structural reason keyframe continuation does not carry chaining's ceiling, and the detail that decides it is where the keyframe image itself comes from. Chaining's drift comes from re-using a frame extracted from a rendered, compressed video: that frame has already lost detail the model had access to during generation and never fully had it back. A keyframe generated as its own image, never pulled out of a video file, does not carry that loss. As long as your first and last keyframes are generated images rather than extracted frames, quality holds indefinitely, because there is no lossy handoff for drift to compound through. Pull a keyframe from an already-rendered clip instead, and you have reintroduced the same loss chaining has, just at a different point in the pipeline.
Other ways to get length
Slower motion, same runtime. Sometimes you don't need more seconds, you need the motion to feel unhurried. A gentler, slower prompt makes a five-second clip feel longer and more cinematic without any chaining.
Purpose-built extension features. Some tools offer a native "extend" or "continue" function that automates the last-frame-forward trick. When available, it's the easiest path. But under the hood it's doing exactly the chaining described above, so the same consistency rules apply.
Loops. If your motion returns to roughly its starting position (a slow sway, a subtle idle), you can loop a single clean clip for as long as you like. A well-chosen loop is often the most efficient way to fill a long runtime.
How far chaining gets you
We started using this technique back when video models capped out around five seconds, and it worked: our first real success was stitching our way to about forty seconds of continuous footage. Past that point, color starts to shift from segment to segment. Small drifts in each handoff frame compound, and by segment eight or so the palette has visibly moved from where the sequence started.
That's a practical ceiling worth planning around, not a hard rule. If your project needs more than about forty seconds, expect to either accept a gradual color drift or build in a natural cut (a scene change, a hard edit) around that point rather than fighting for a perfectly seamless hour.
Frequently asked questions
- What is FFLF or first-frame-last-frame continuation?
- A workflow that gives the model a starting frame and an ending frame and asks it to generate the motion between them, instead of handing it one finished frame and asking it to continue. The catch is where those keyframes come from: generate each one as its own image and quality holds indefinitely, with none of chaining's roughly forty-second color-drift ceiling. Extract a keyframe from an already-rendered video instead, and you reintroduce the same information loss chaining has, just relocated. Generated keyframes, not extracted ones, are what make this method actually beat chaining's ceiling.
- What is the maximum video length in Wan 2.2?
- In a single pass, the reliable zone is about 5 seconds: past that, drift and warping grow quickly. For longer footage, chain clips using the last frame of one render as the source image of the next. In our own use, chains held up to roughly 40 seconds before segment-to-segment color drift became visible.
- How do I generate a long video with Wan 2.2 image-to-video?
- Plan the motion as short beats, render each beat as its own ~5 second clip, extract the final frame of each clip, and feed it forward as the next clip's source image. Concatenate in an editor: because each segment starts on the previous one's final frame, the joins are invisible when done well.
- Why can't I just increase the length setting?
- The model generates a fixed window of frames it has to keep mutually consistent, and errors accumulate with every extra frame. Pushing the length setting past the reliable zone doesn't buy a clean longer clip; it guarantees the drift you were trying to avoid. Chaining keeps every segment inside the zone while the sequence gets arbitrarily long.
- Do Wan 2.5 or 2.7 generate longer clips than 2.2?
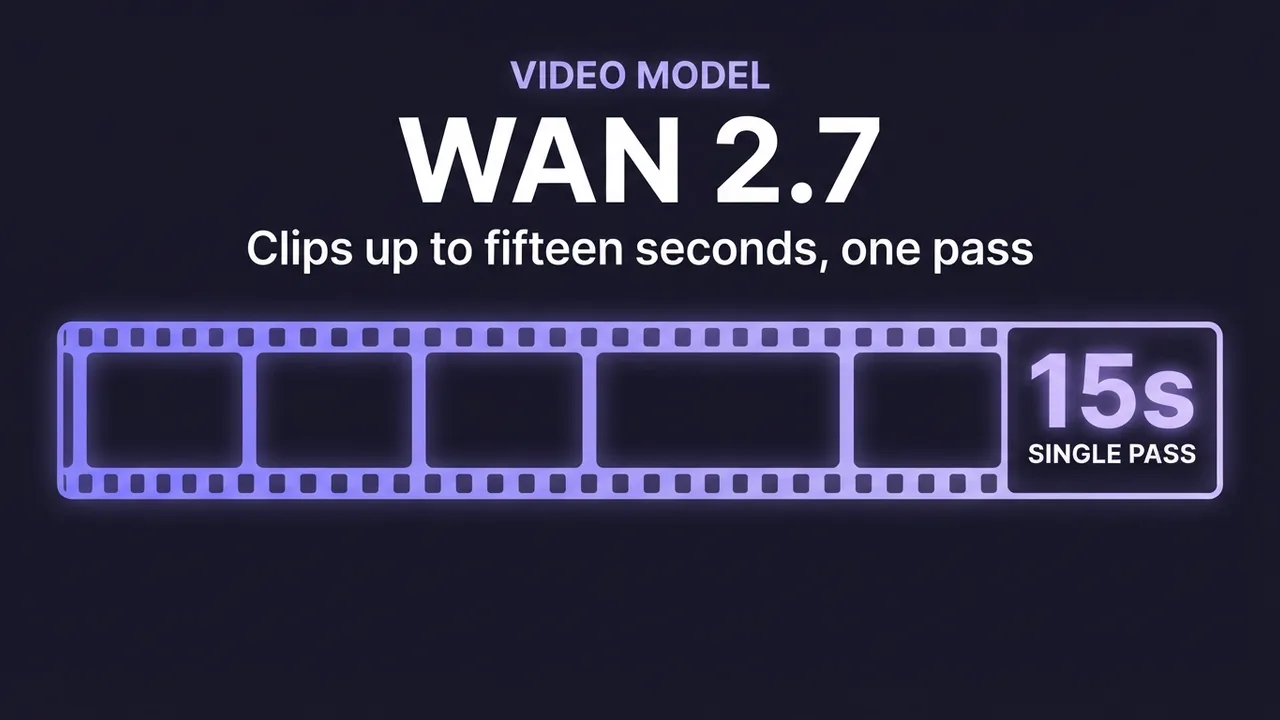
- Yes. Wan 2.5 tolerates the upper end of the 5-8 second range better than 2.2, and Wan 2.7 goes much further: up to around fifteen seconds in one pass. If your project regularly needs single-pass length beyond a few seconds, that's the main reason to step up the line.
Keep reading
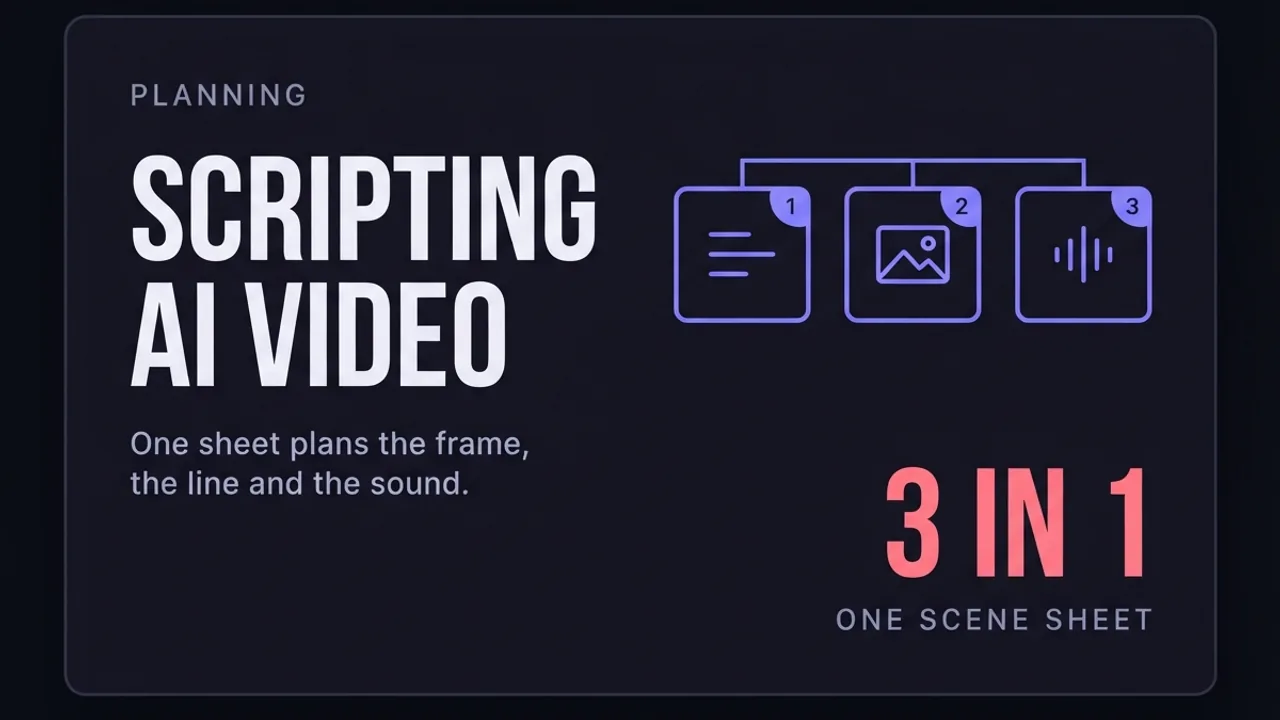
How to write a script for an AI-generated video
A script format built for AI video generation, not film: every scene planned with its start frame, end frame, duration, dialogue, camera move, and sound, so each clip can be generated on its own and still cut together as one continuous video.
How to turn an image into a video with AI
A model-agnostic guide to generating an AI video from an image: what image-to-video does, how to pick a source image that moves well, and how and what to prompt to get good motion.
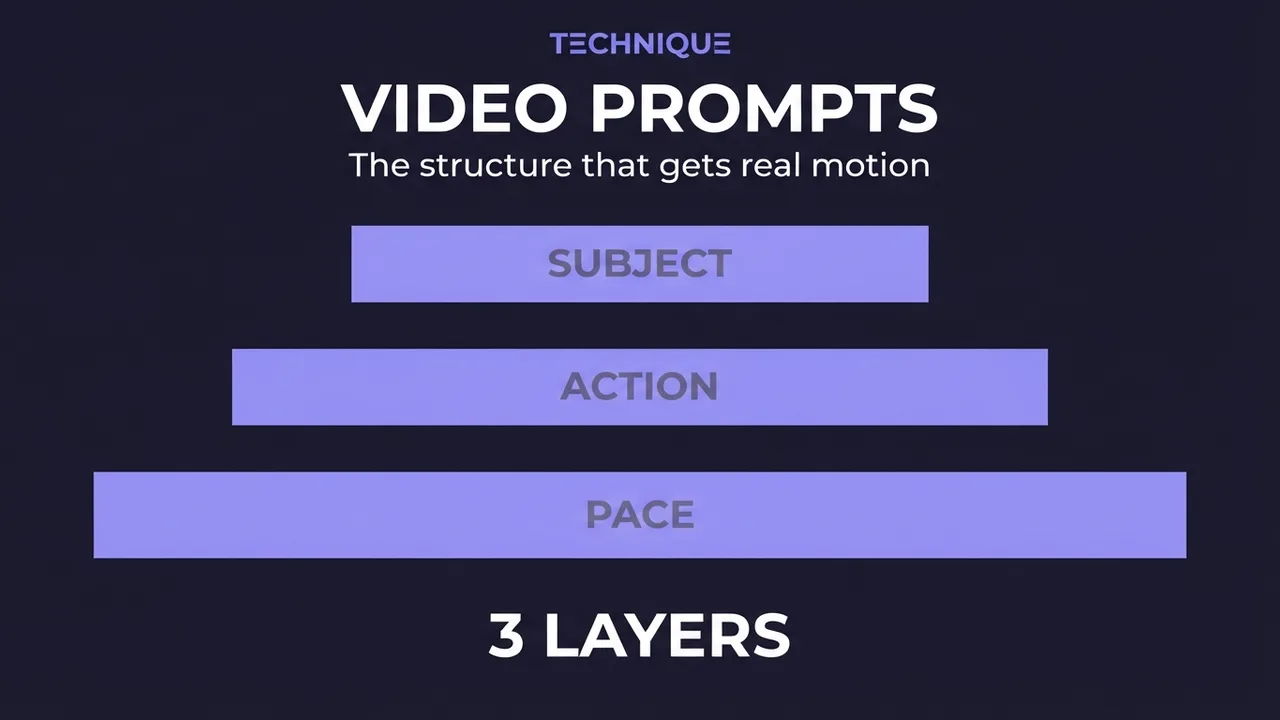
How to write prompts for AI video generation
The prompt structure that works for AI video: why motion prompts are different from image prompts, the present-progressive rule, and the specific phrasing that gets you believable movement instead of a warped photo.
How to get slow motion in Wan 2.2
Two reliable routes to slow motion in Wan 2.2: prompt patterns that produce slow, stable movement in the render itself, and the post-process interpolation route when you need true half-speed smoothness.

How to fix flickering AI video: 4 causes and fixes
AI video that flickers, shimmers, or morphs between frames has 4 usual causes. Here's how to diagnose and fix each one: source-image noise, too-few steps, over-long clips, and unstable prompts. Step by step.
How to generate videos with Wan 2.7
A practical guide to Wan 2.7 image-to-video: clips up to about fifteen seconds, built-in prompt optimization, and refined native audio. What the model adds over 2.5, how to prompt sound, and how to script a longer clip so it holds together.
Get new guides by email
One email when we publish new guides and model breakdowns. No spam, unsubscribe anytime.