
How to use ElevenLabs Voice Changer to keep one voice across a whole video
Written by Clement
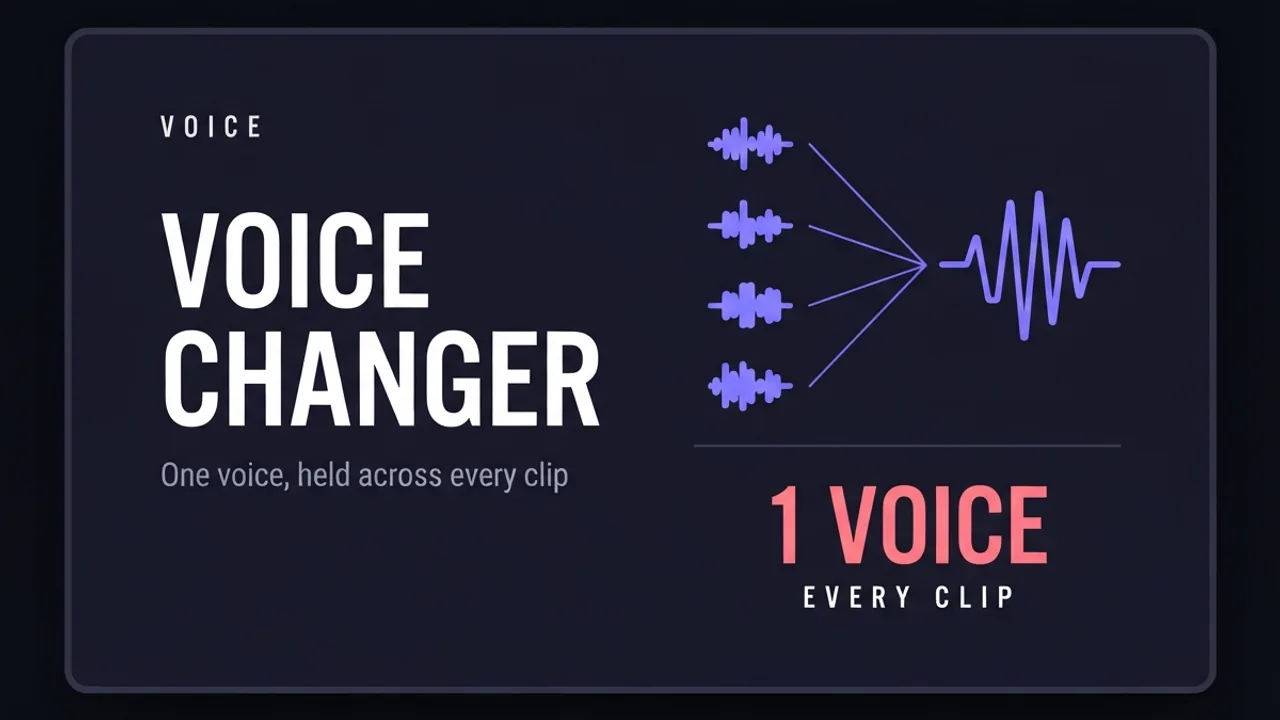
A video stitched together from several separate AI generations tends to drift in voice from clip to clip, especially on models whose native lip-sync audio isn't driven by the same voice reference every time. ElevenLabs' Voice Changer (speech-to-speech) fixes this at the audio stage: you record or supply your own dialogue take, and it swaps your voice for one fixed voice from ElevenLabs' library, while keeping your original timing, cadence, emotion, and delivery.
Run every clip's dialogue through the same target voice and the same settings, and a video assembled from a dozen separate generations sounds like one continuous performance instead of a dozen different narrators.
Step 1: Open the Voice Changer tool
- 1
Log in to your ElevenLabs dashboard
Voice Changer runs from the dashboard, not from any of the generation tools upstream of it.
- 2
Open Voice Changer from the left navigation
If it isn't in your pinned tool list, open More tools, find Voice Changer, and pin it so it stays in the sidebar.
Step 2: Upload your media
- 3
Drag in your audio or video file
Drop it into the central upload box. Files up to 50 MB are supported, audio or video.
Step 3: Choose the target voice
This is the setting that keeps a long video consistent: pick one voice and reuse it for every clip in the project.
- 4
Open the Voice dropdown
Found in the right-hand settings panel.
- 5
Pick from My Voices, or browse the library
Use My Voices for a voice you've already set up, or open the Explore tab to search ElevenLabs' Voice Library.
- 6
Search by character type, not by name
Keywords like "detective," "announcer," or "narrator" surface voices you can preview before committing, which is faster than browsing by voice name alone.
Audio and voice settings
These five controls decide how close the output sticks to the target voice versus your own delivery. Reset to defaults if you're unsure rather than guessing at values.
| Remove Background Noise | Turn on when your recording has background noise or AI-video artifacts in it, otherwise the model can read that noise as part of the voice |
|---|---|
| Stability | Higher values hold the voice steadier; lower values allow more expressive variation. Too high and delivery can sound monotone |
| Similarity | How closely the output matches the target voice profile versus your source recording. Too high introduces artifacts; too low loses the target voice's identity |
| Style Exaggeration | Adds flair and intensity. Keep it moderate: values over 50% risk instability |
| Output Format | MP3, or lossless WAV at your preferred sample rate |
| Speaker Boost | Leave this on by default; it boosts voice clarity and presence |
Get new guides by email
One email when we publish new guides and model breakdowns. No spam, unsubscribe anytime.
Step 4: Generate and export
- 7
Click Generate speech
Found at the bottom of the settings panel.
- 8
Preview the result
Check the converted audio or video before exporting.
- 9
Download the file
Saves the transformed audio or video to your device.
Keeping one voice across many separate generations
The consistency problem this solves is specific to longer projects: when a video is built from several separate clips (see longer videos for why that's usually necessary), each clip's native audio comes from a separate generation and has no reason to sound like the last one. Recording your own dialogue for every clip and running all of it through the same target voice and the same Stability/Similarity/Style settings gives every clip the same voice identity, even though the video clips themselves came from unrelated generations.
Lock your settings once you've found values that sound right, rather than adjusting them per clip. A changing Stability or Similarity value between clips reintroduces the same inconsistency you're trying to remove.
Frequently asked questions
- Does Voice Changer keep my original performance, or just my voice's pitch?
- It keeps your timing, cadence, emotion, and delivery, and replaces the voice itself. That's why acting out the performance in your source recording matters: the emotional delivery carries through to the output.
- What file size and formats does Voice Changer accept?
- Audio or video files up to 50 MB. Output can be exported as MP3 or lossless WAV at your chosen sample rate.
- How do I keep a voice consistent across a video made of several AI-generated clips?
- Record your own dialogue for each clip, run every clip through Voice Changer with the same target voice, and keep Stability, Similarity, and Style Exaggeration fixed across all of them rather than adjusting per clip.
- What does the Similarity setting control?
- How closely the output adheres to the target voice profile versus your source recording. Too high can introduce artifacts; too low won't capture the target voice's identity.
Keep reading
How to Set Up AuK: A Local, Uncensored Voice Model
Install AuK, Tencent's open-source 1.5B speech model, on a rented RunPod GPU through ComfyUI: zero-shot voice cloning, text-to-speech, and speech editing with no account, no content filter, and no per-second usage fee once it's running.
How to write a script for an AI-generated video
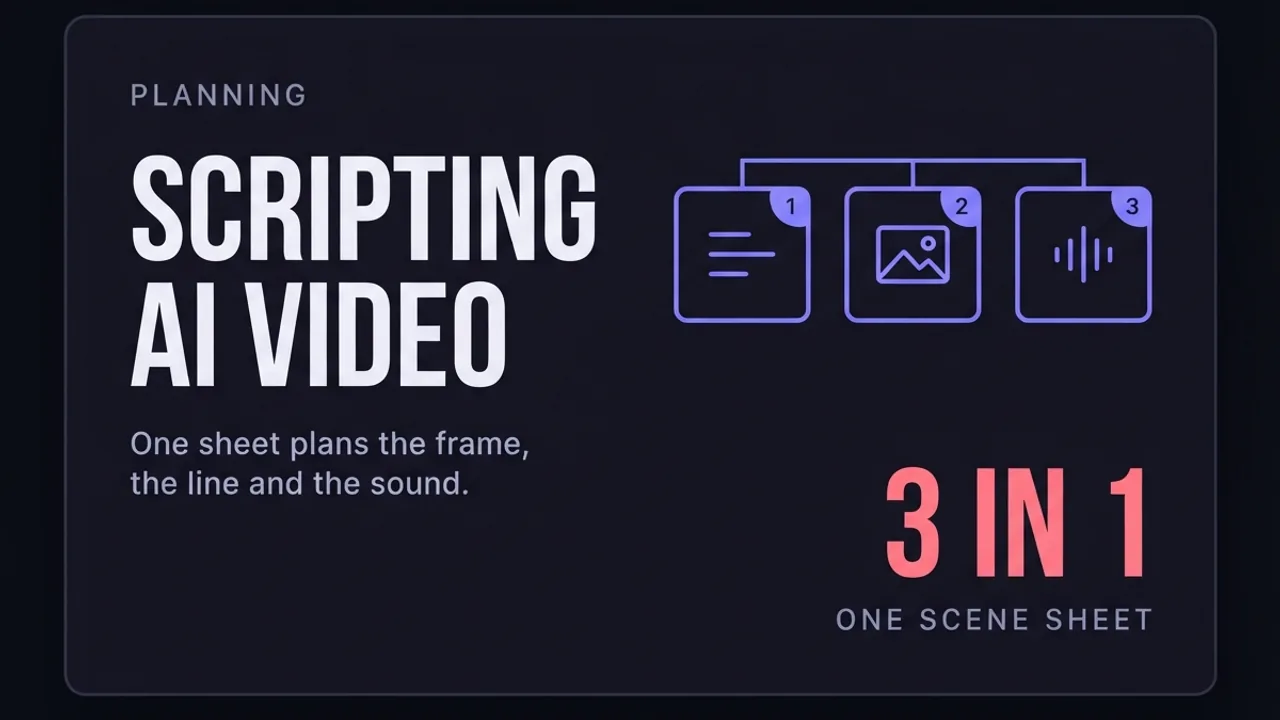
A script format built for AI video generation, not film: every scene planned with its start frame, end frame, duration, dialogue, camera move, and sound, so each clip can be generated on its own and still cut together as one continuous video.
How to use reference-to-video AI (combine images into one clip)
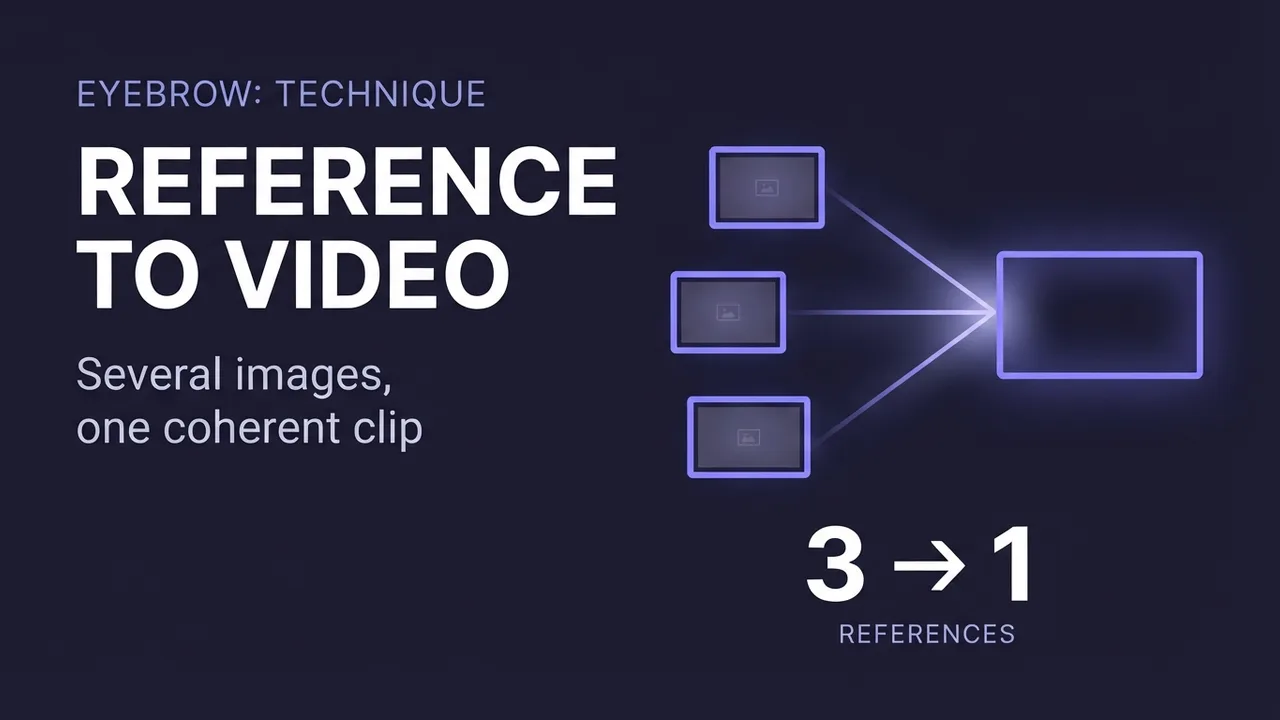
A model-agnostic guide to reference-to-video AI: how to combine several reference images (a person, an outfit, a prop, a location) into one coherent clip, how some engines also take audio and video as references, and the mistakes that decide whether the shot fuses or falls apart.
How to write prompts for AI video generation
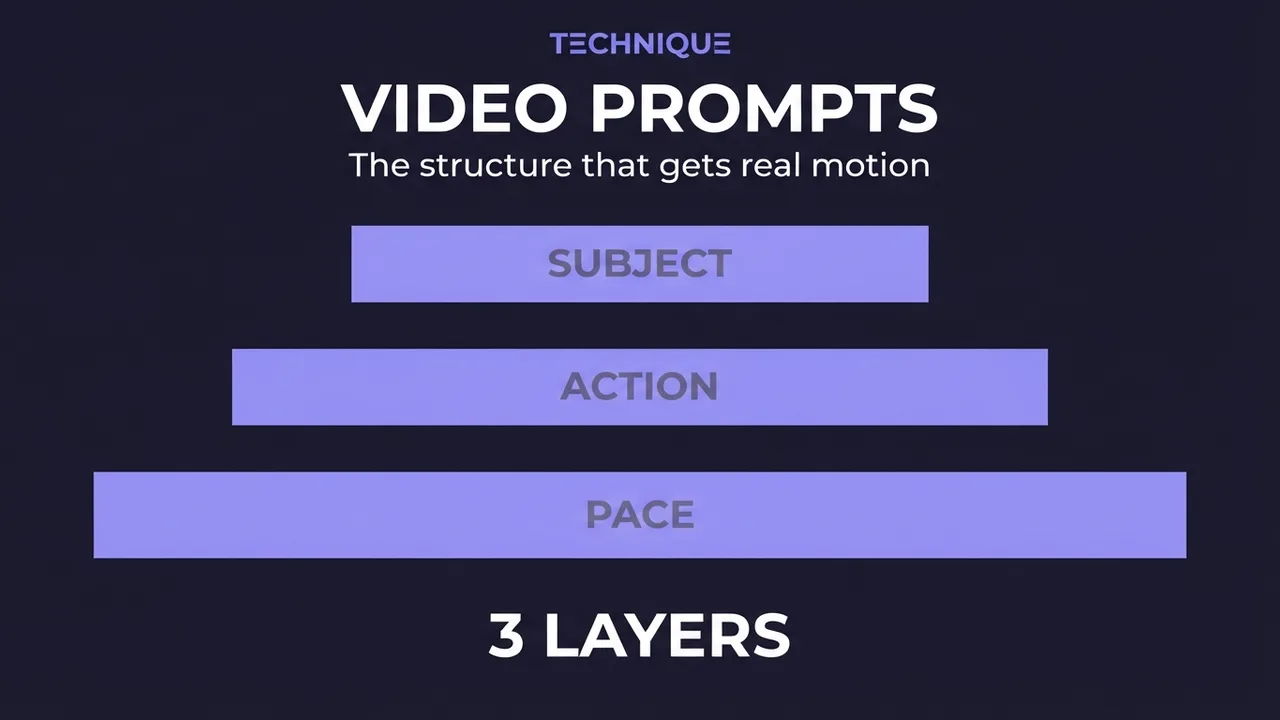
The prompt structure that works for AI video: why motion prompts are different from image prompts, the present-progressive rule, and the specific phrasing that gets you believable movement instead of a warped photo.
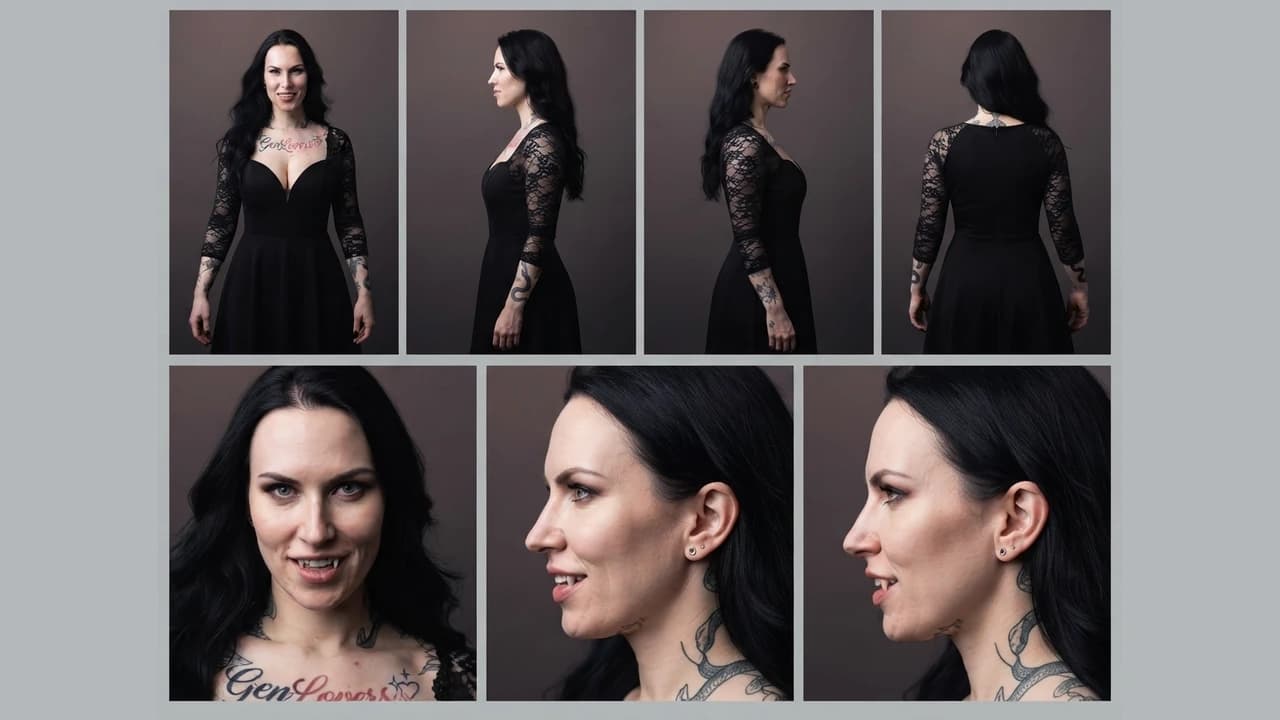
How to build character and scene reference sheets for consistent AI video
How to generate technical turnaround sheets for a character and for a location, then use both as persistent references across image and video generation, so the same character and the same setting hold from shot to shot.
Get new guides by email
One email when we publish new guides and model breakdowns. No spam, unsubscribe anytime.